A super flavorful side dish that’s quick and easy to make, especially on busy weeknights!
When I was a child, I loathed the sight of broccoli on my plate. While there were some vegetables that I found to be more palatable, like carrots or corn, broccoli was always a hard no for me. But then my mother introduced me to cauliflower, and I found myself eagerly gobbling it up! I can’t, for the life of me, wrap my brain around how I justified being excited about cauliflower while being repulsed by its green counterpart. Luckily, I grew out of it and can now appreciate how delicious both of these vegetables are.
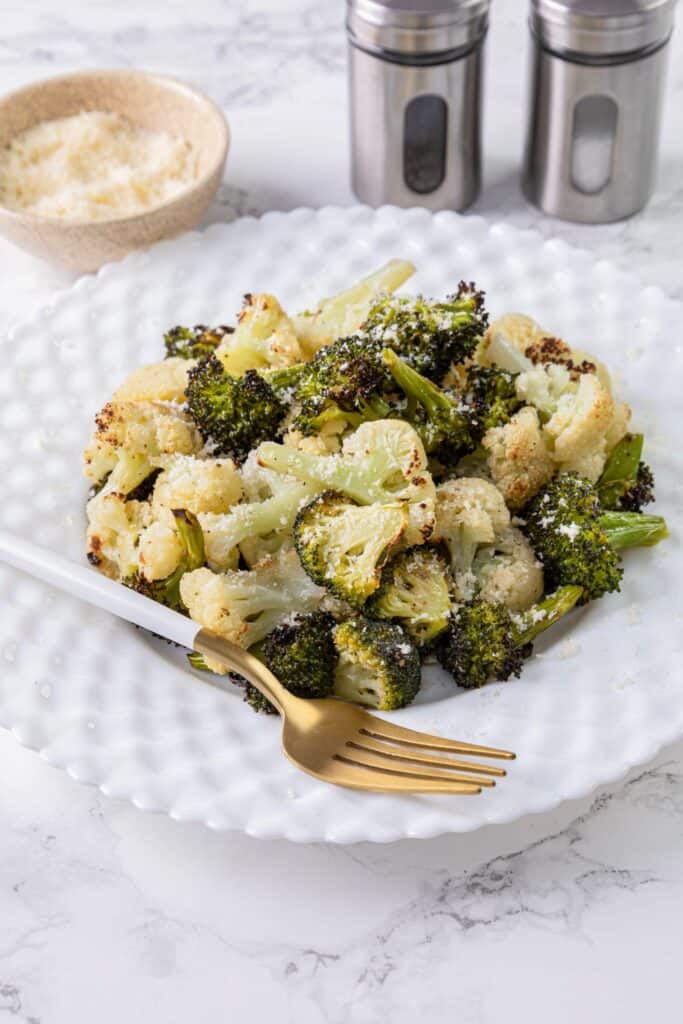
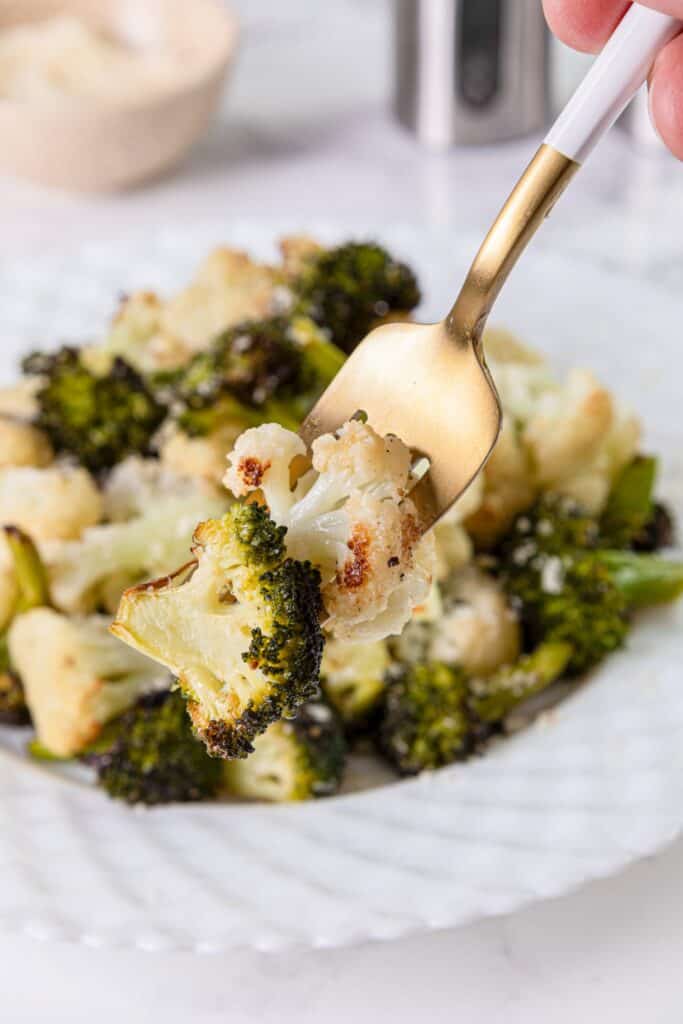
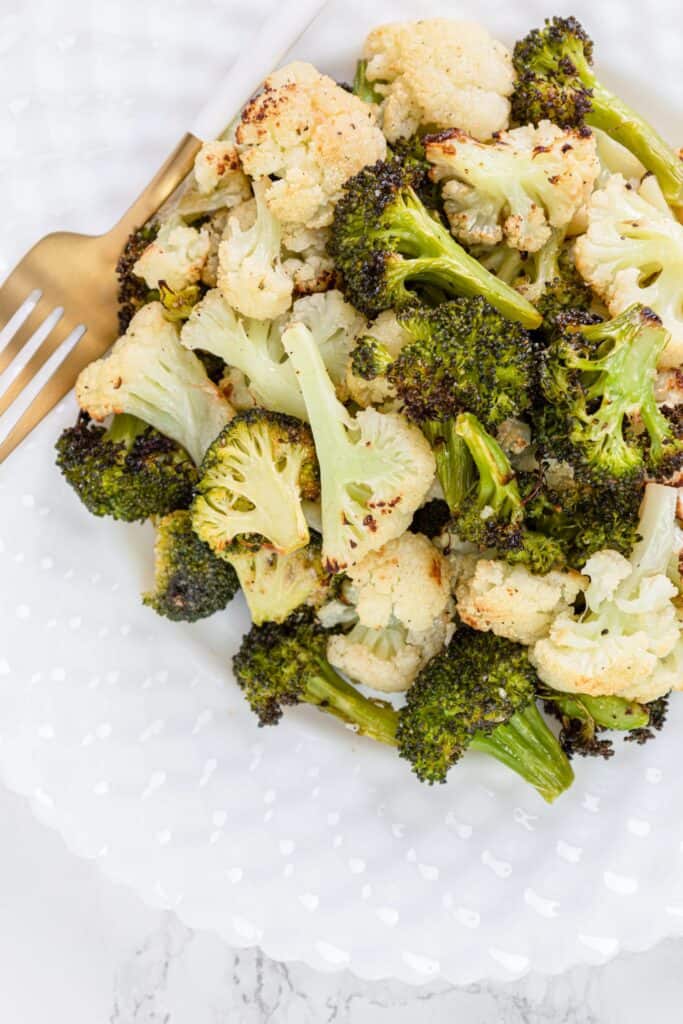
By far, my favorite way to prepare these veggies is to roast them, as shown in this recipe. The high heat of the oven gets the florets nice and crispy, and it also caramelizes them, which results in a slightly sweet yet smoky flavor. The sweetness harmonizes super well with the savory garlic seasoning.
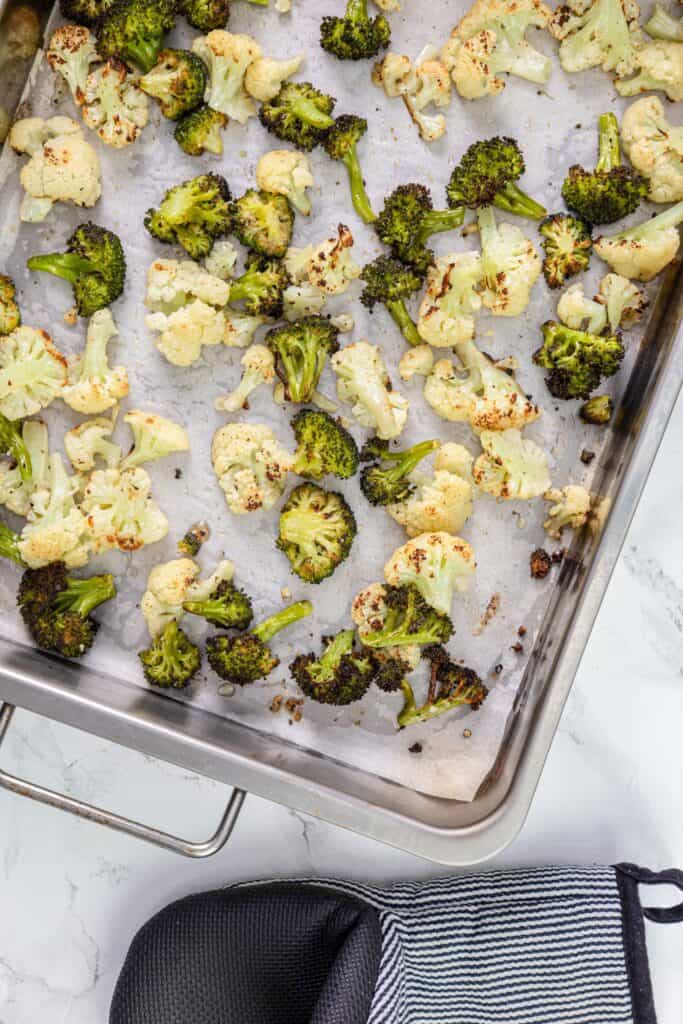
In addition to being loaded with flavor, I also appreciate how quick and easy this side dish is to make, since it’s mostly hands-off. You just pop the sheet pan of florets into the oven, and then you have plenty of time to focus on preparing the main dish!

Is Roasted Broccoli And Cauliflower Healthy?
Feel free to load up your plate with roasted broccoli and cauliflower, since both of these veggies are wonderful sources of vitamins, minerals, and fiber. This dish is also keto-friendly, vegan, dairy-free, gluten-free, and just about as tasty as can be! There is some fat in this dish from the olive oil, but it’s considered a healthier fat, and it also contains antioxidants. All in all, this is one of the healthier side dishes you can include in your diet.
A Few Flavorful Variations
While this recipe is simple and easy to follow, that doesn’t mean you can’t experiment with different flavors! You can dress your roasted florets in everything from balsamic vinaigrette to feta cheese crumbles. I personally love sprinkling some Parmesan cheese and fresh chopped parsley on top of my roasted broccoli and cauliflower. However, a little squeeze of lemon and chopped cilantro would also brighten up the flavors brilliantly. Or, try tossing them in a bit of pesto after roasting them. In addition to the garlic powder, you could also mix in other seasonings like onion powder, paprika, or red pepper flakes. For a little crunch, you could even sprinkle some toasted breadcrumbs or chopped nuts on top.
How Do I Store Leftovers?
Allow any leftovers to cool completely, and then store them in an airtight container in the fridge for up to 4 days. You can also freeze the florets in a freezer bag or airtight container for up to 3 months. Allow them to thaw in the fridge overnight before reheating. To reheat, roast the florets in a 450°F oven or in an air fryer for about 5 minutes. Avoid microwaving them, as it causes the veggies to become soggy.
Serving Suggestions
If you’re looking for perfect pairings to go with your roasted broccoli and cauliflower, you’ll be happy to hear it goes well with almost any protein. I highly recommend serving it with a Simple Coffee-Rubbed Steak, Parmesan-Crusted Pork Chops, or Fish En Papillote. For a fully vegetarian meal, you could serve it with Air-Fryer Falafels or these Easy Homemade Sweet Potato Veggie Burgers. And if you’d like to serve your roasted florets with a dipping sauce, you can’t go wrong with this Garlic Parmesan Sauce!
Recipe
Ingredients
- 4 cups broccoli florets
- 4 cups cauliflower florets
- 2 tablespoons olive oil
- 1/2 teaspoon garlic powder
- 1/2 teaspoon kosher salt
- Fresh ground black pepper to taste
Instructions
- Preheat the oven to 450°F. Line a baking sheet with parchment paper.
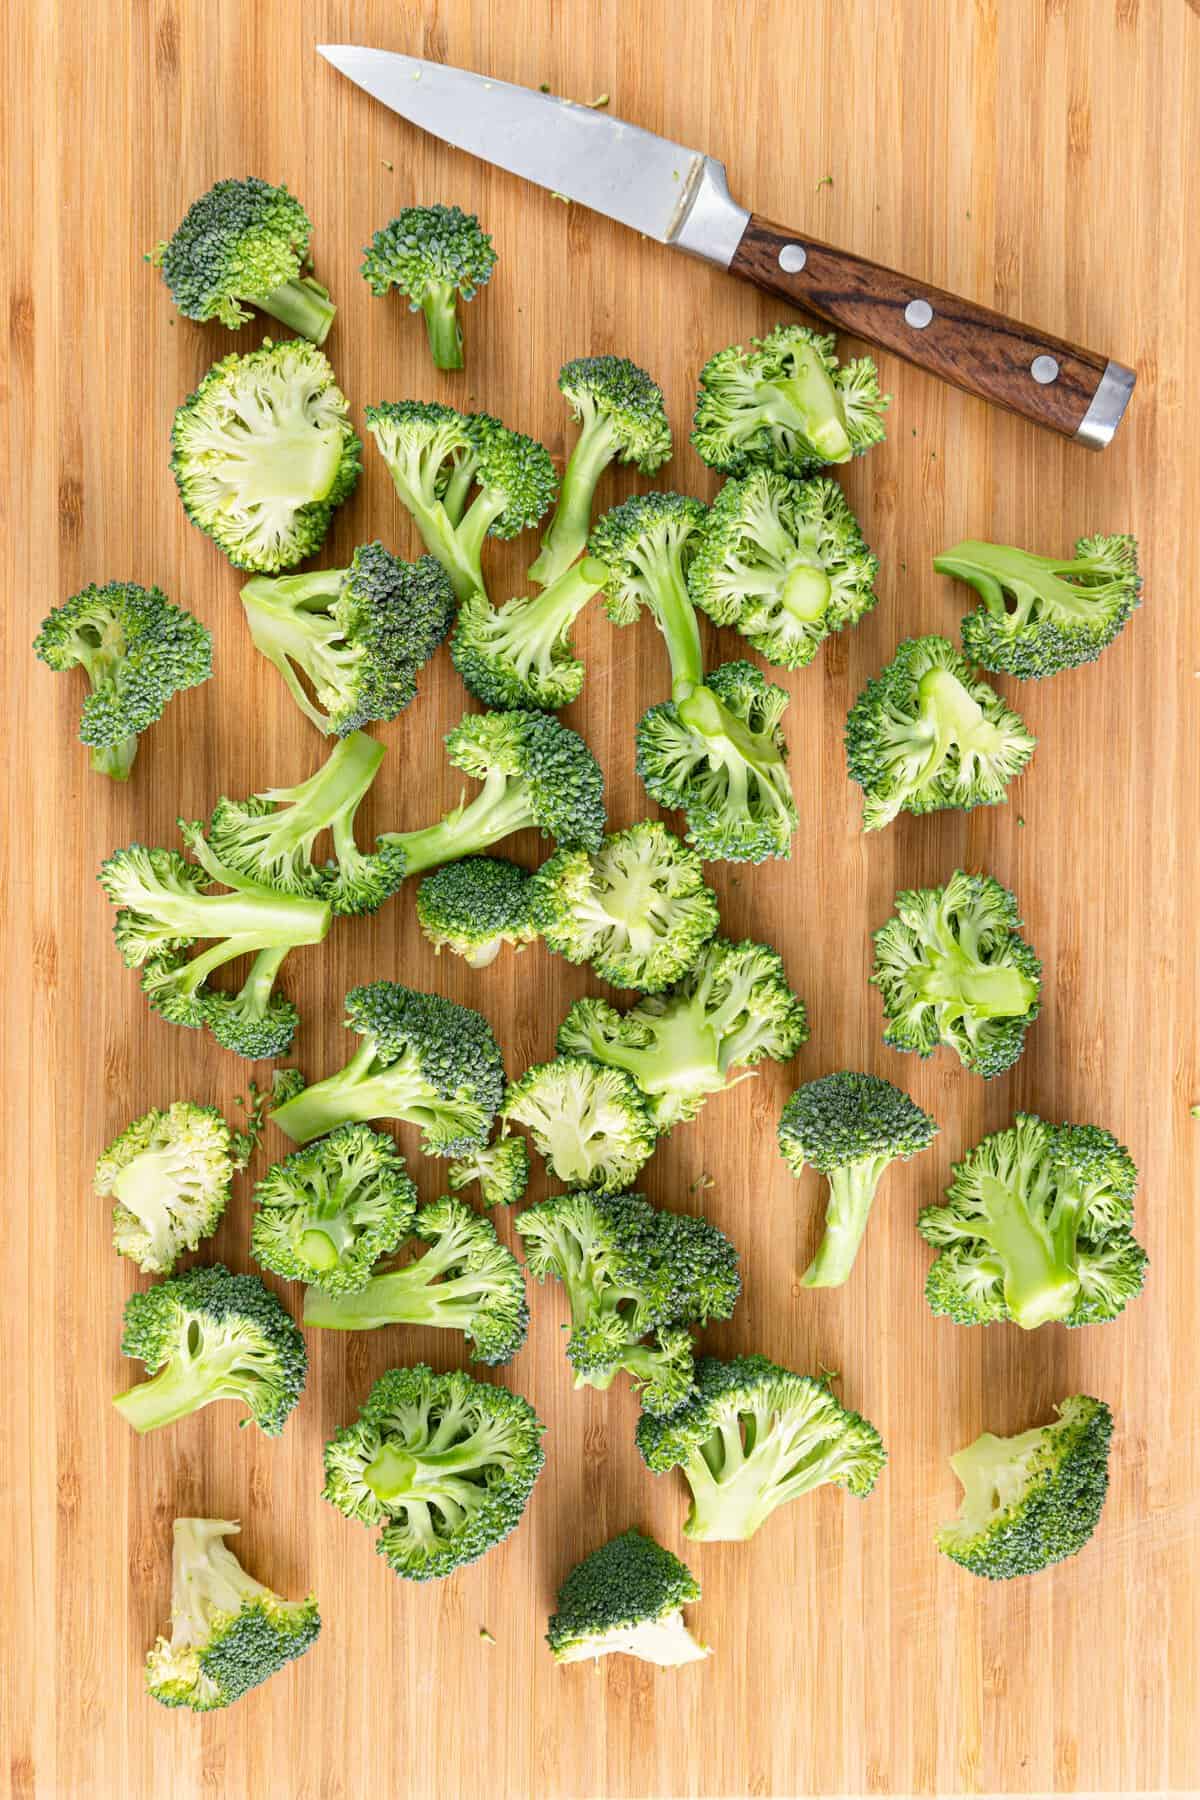
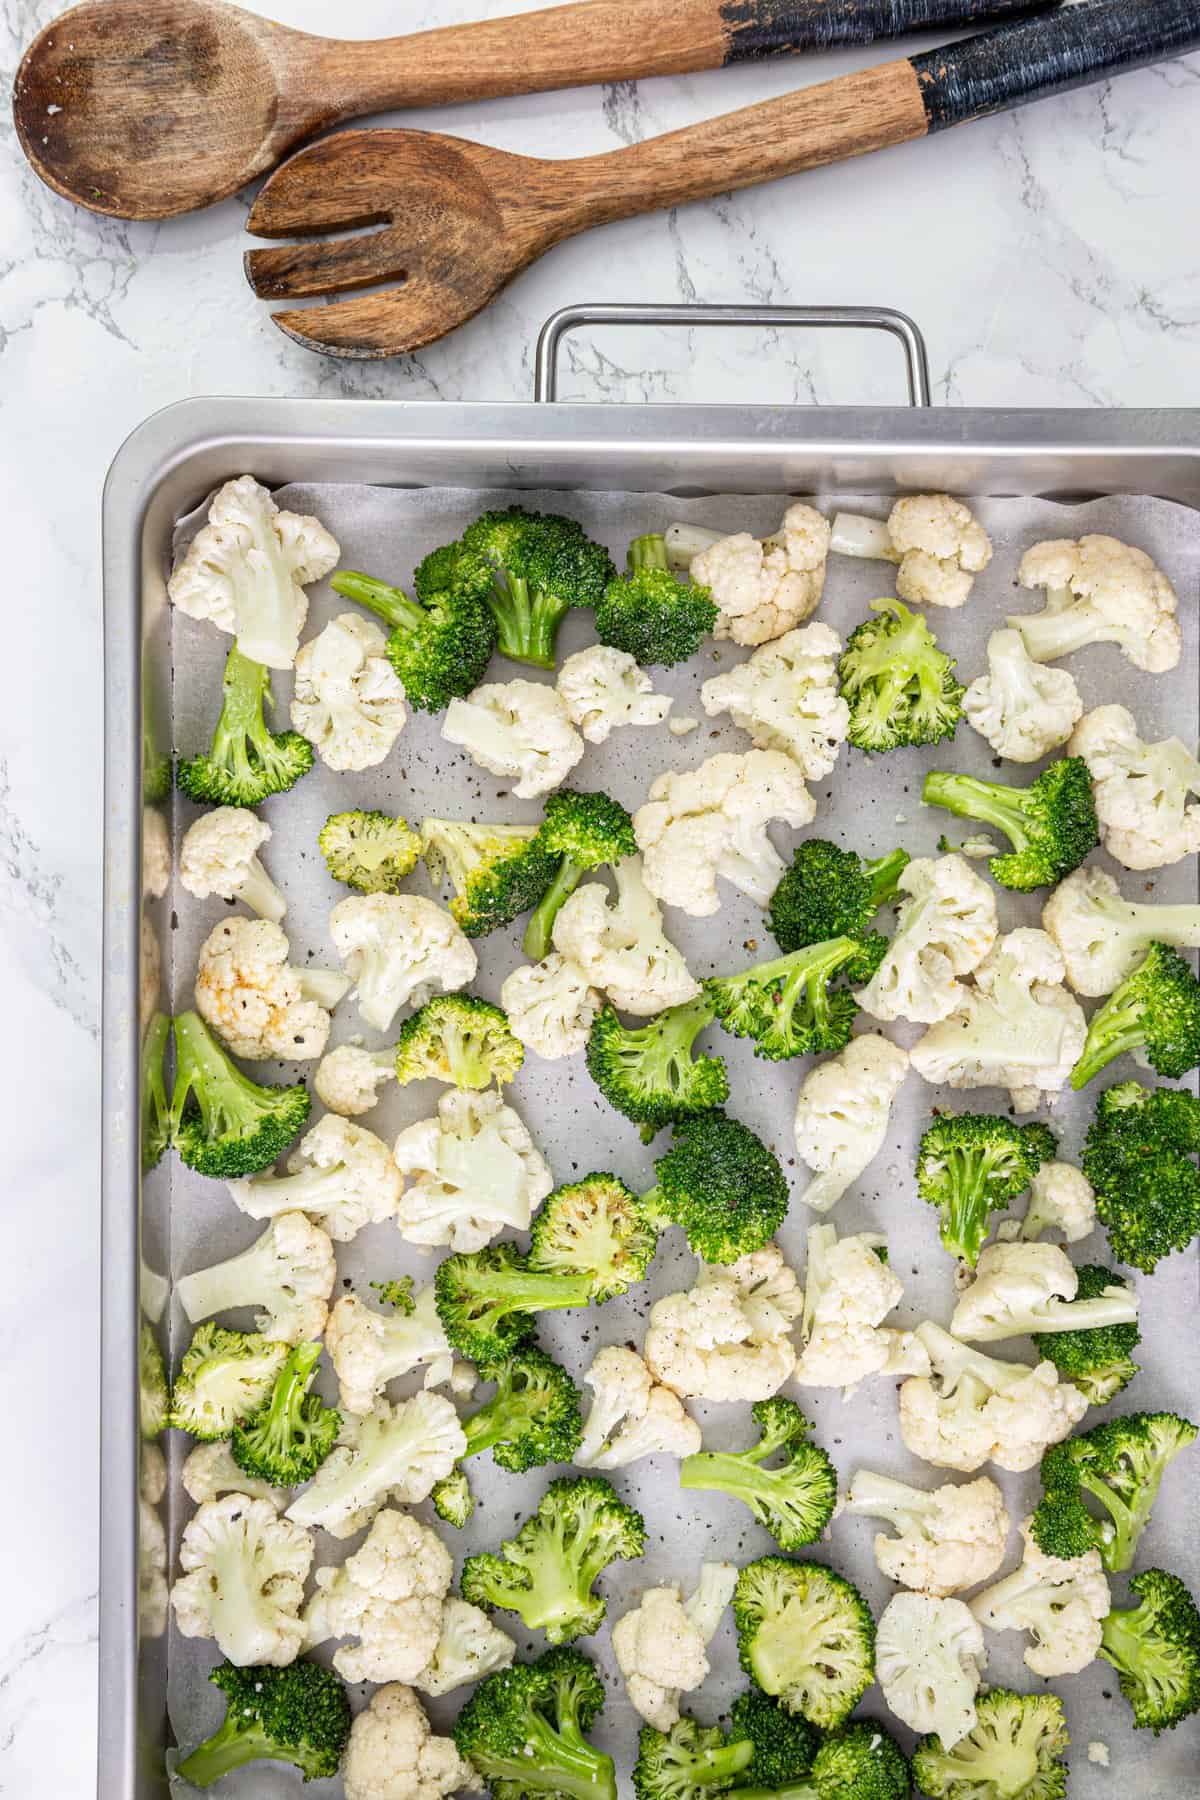
- Chop the broccoli into medium-sized florets, leaving a good amount of the stem for a nice shape. Chop the cauliflower into similar-sized florets. In a large bowl, toss the florets with the olive oil, garlic powder, kosher salt, and a few grinds of black pepper until well coated.
- Spread the vegetables in a single layer on the prepared baking sheet. Roast for 20 to 25 minutes, until tender and the edges are slightly browned. Check at 20 minutes and continue roasting if needed to achieve desired browning. Serve warm.
Leave a Comment