Make the most out of corn season by learning How To Grill Corn On The Cob In Foil!
In the Midwest, corn is as synonymous with late summer as cranberries are with winter. In fact, I grew up in an area where detasseling corn was a job most teens did right before they headed back to school. My mother was a huge fan of corn, which meant I grew up eating it weekly when it was in season. We had it creamed, in salads, stirred through rice and chilis, or simply enjoyed it fresh from the cob with plenty of butter.
In recent years, I discovered the foil method for grilling corn on the cob, and wow, what a difference it makes! Before that, I usually steamed corn in a big pot of water. While delicious, it’s not ideal in the summer—who wants to heat up the kitchen with a giant pot of boiling water anyway? Grilling corn not only keeps the heat outside, but also turns a meal into an outdoor experience. It’s a win-win.
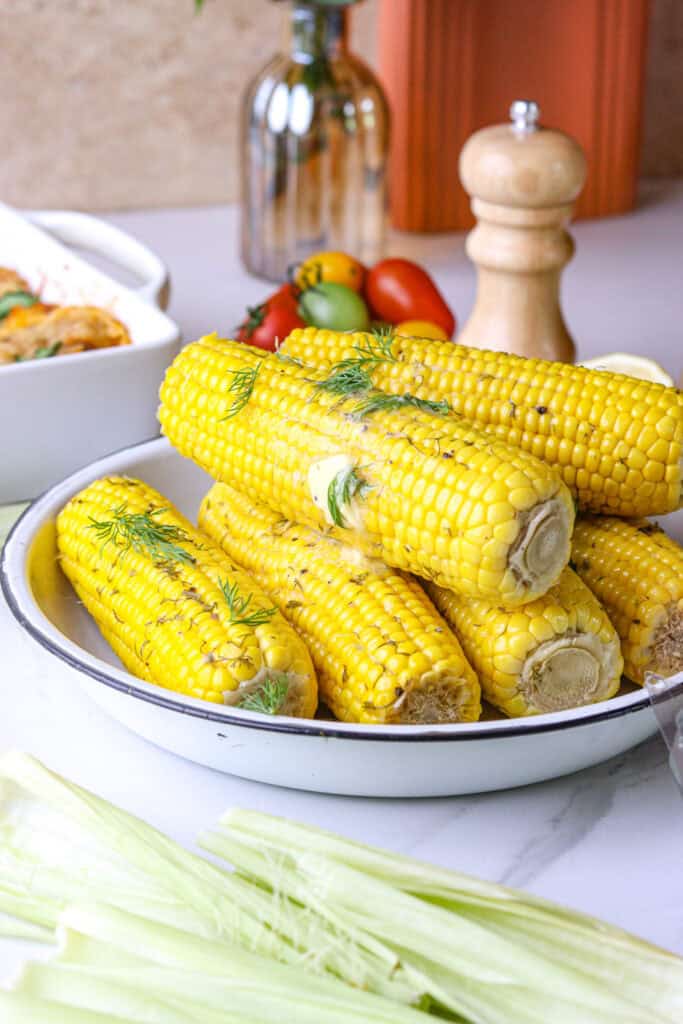
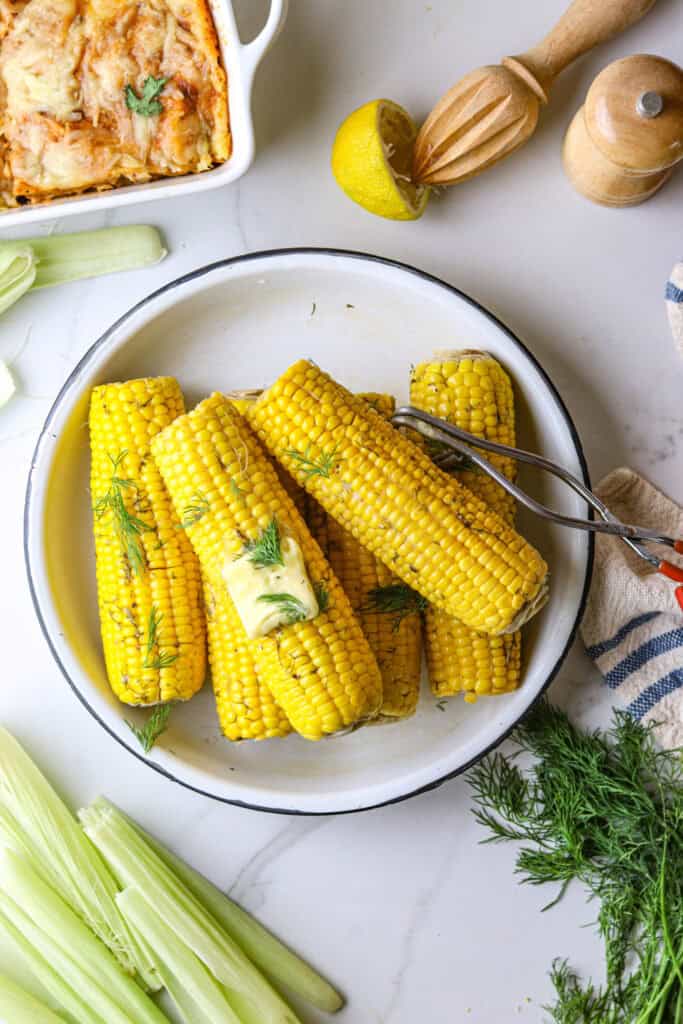
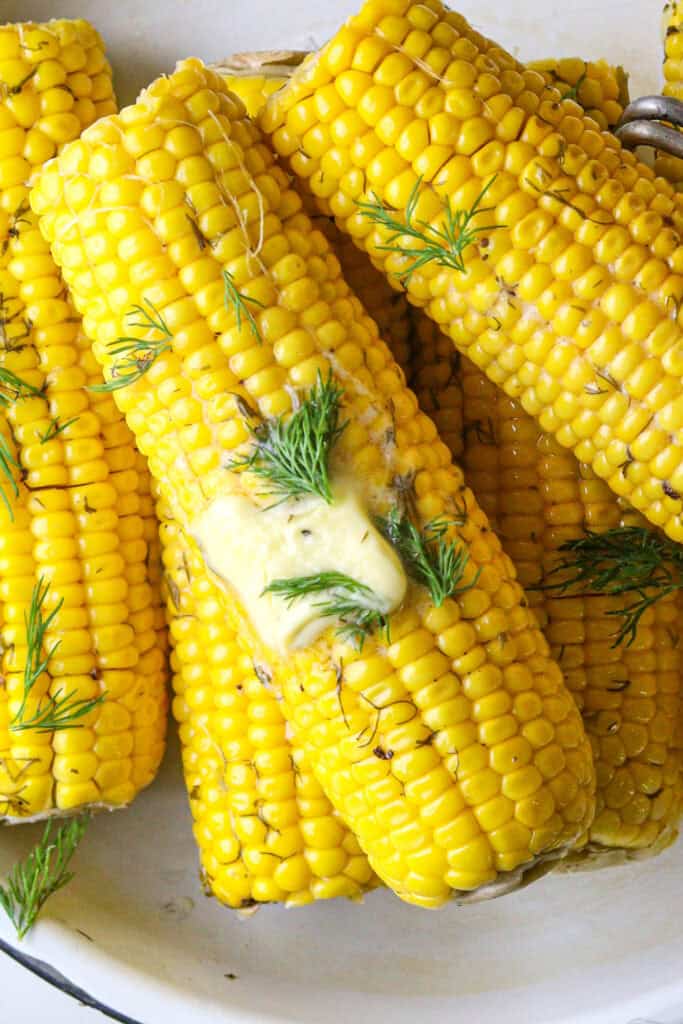
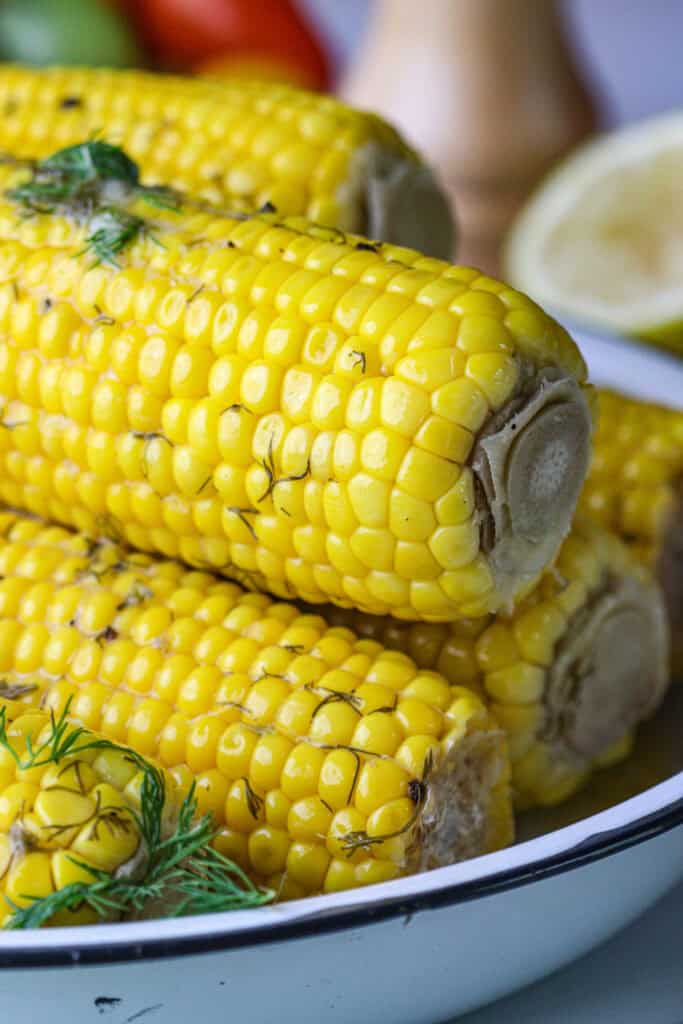
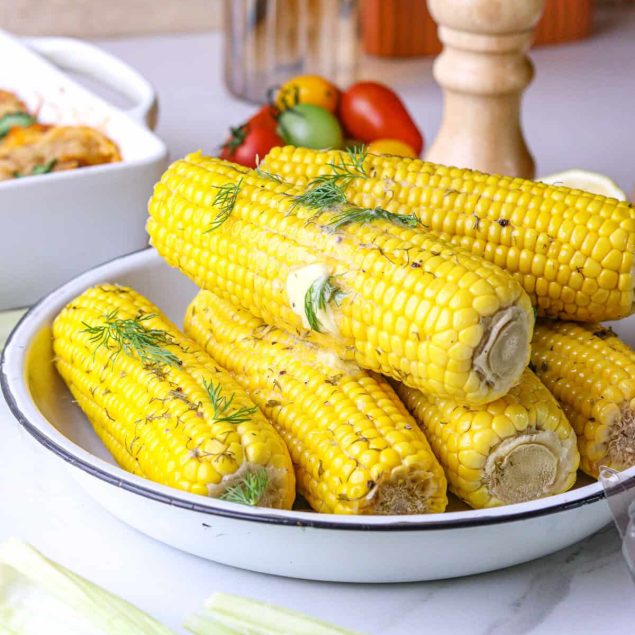
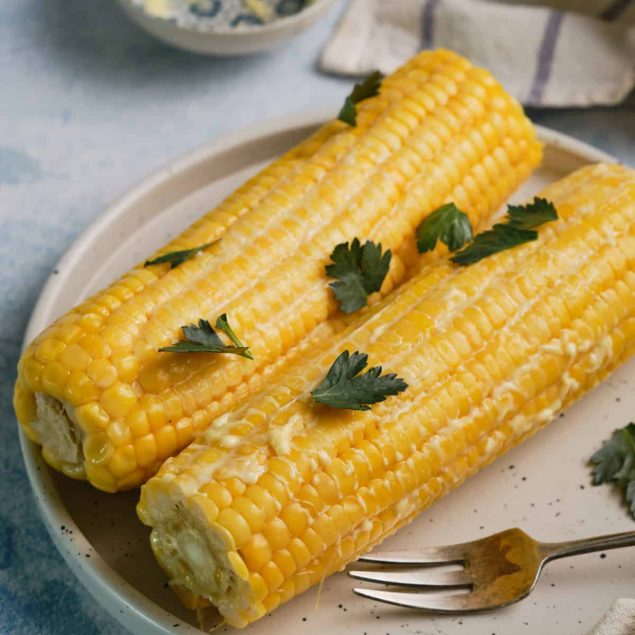
Corn on the cob already has a natural sweetness, so it’s tasty on its own. This recipe, though, suggests topping it with butter, salt, pepper, and dill—simple additions that add lots of flavor.
If you haven’t tried grilling corn in foil, you’re up for a treat. Wrapping the corn in foil creates a natural steam bath, making the kernels tender and juicy. Cleanup couldn’t be easier—there’s no mess in the kitchen and none on the grill. When you’re done, just toss the aluminum foil. It doesn’t get more effortless than that!
Is Grilled Corn On The Cob Healthy?
Yes. Corn has plenty of fiber and is a good source of B vitamins, as well as minerals such as zinc, magnesium, and iron. The recipe does call for butter, but if you’re lactose intolerant or vegan, you can replace it with a plant-based alternative or use olive oil instead.
The Secrets For Perfectly Cooked Corn On The Cob
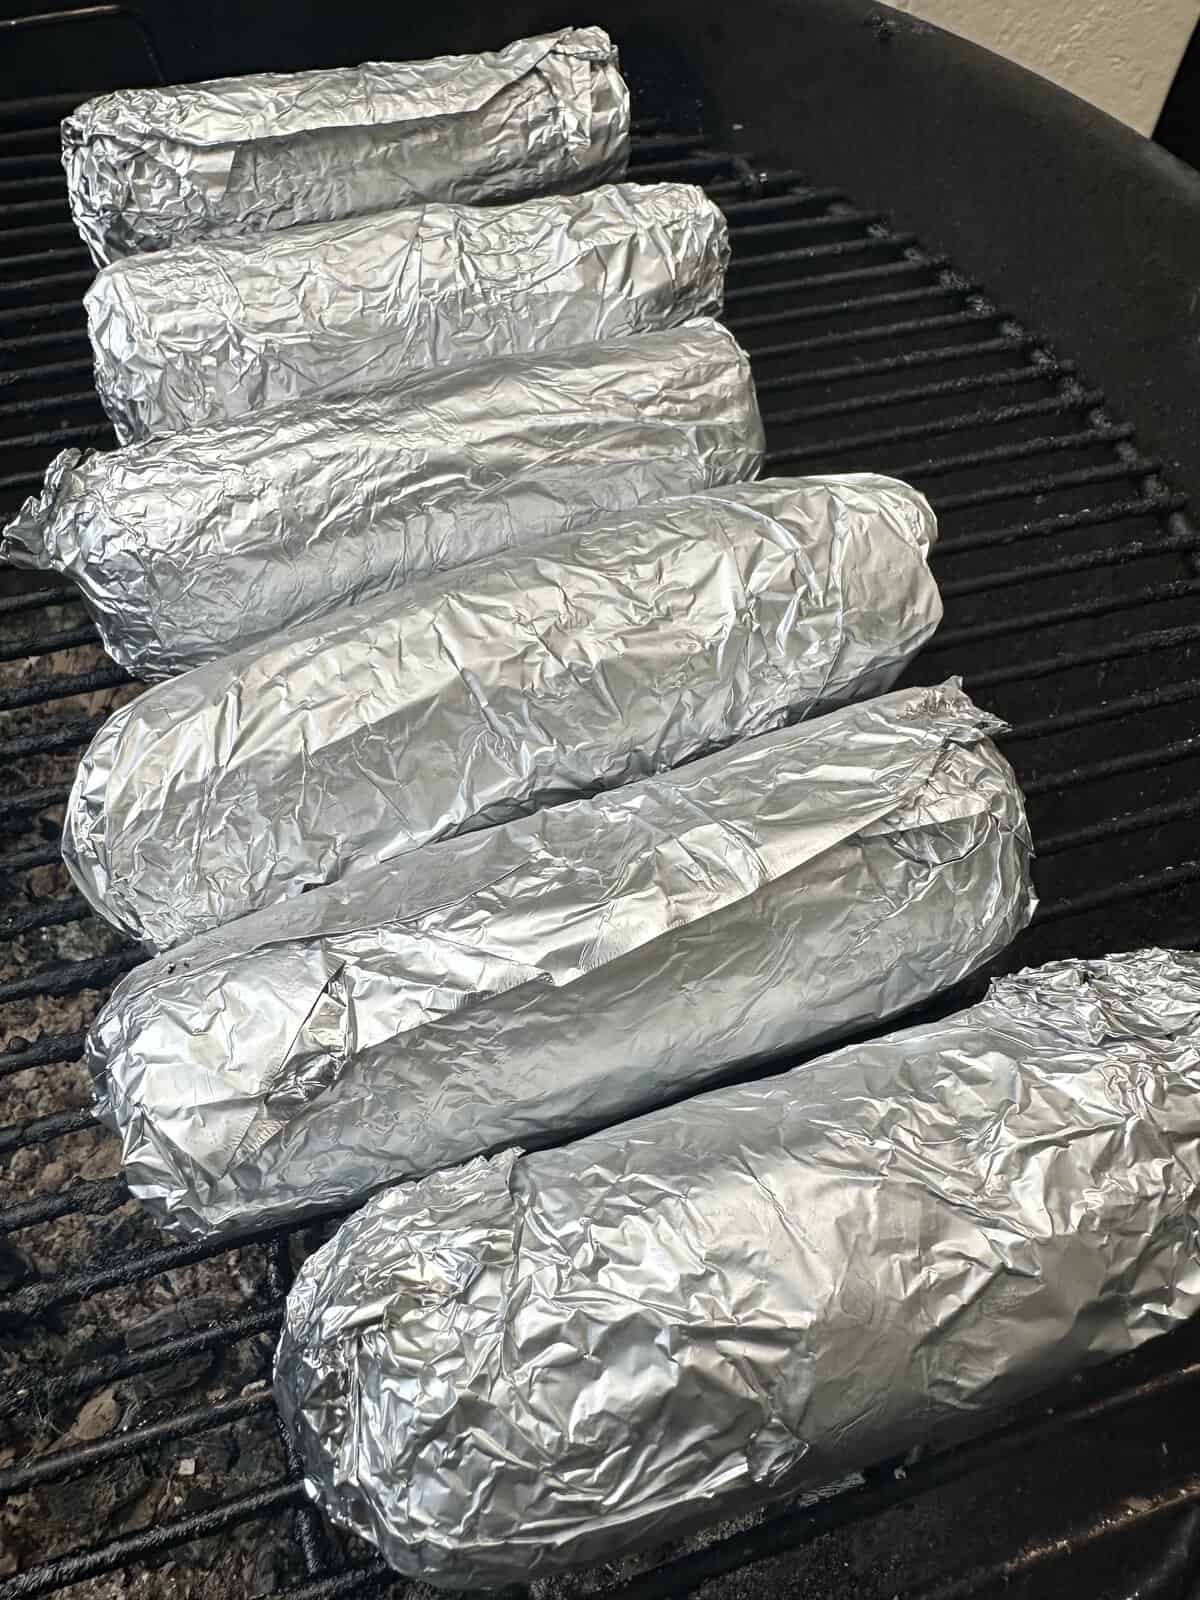
There are two essential steps in this recipe that cannot be skipped: wrapping the corn in foil and turning it regularly. When wrapping the corn, it’s crucial to tightly seal the ends of the foil. This step is vital because the foil creates a steam bath, locking in moisture as the corn cooks. If the foil isn’t sealed properly, steam will escape, and the corn may end up dry or unevenly cooked.
Equally important is turning the corn periodically while it’s on the grill. Set a timer to remind yourself to flip it every three to five minutes. This ensures that the corn cooks evenly on all sides. If it isn’t turned regularly, some parts may cook too quickly and become tough, while others might stay undercooked or even turn mushy. These simple but essential steps guarantee perfectly tender, juicy corn every time.
How To Make Ahead And Store
Grilled corn on the cob tastes best fresh. Once cooled, however, you can store the corn in an airtight container or Ziploc bag in the fridge for up to 4 days.
Serving Suggestions
I love sinking my teeth into this grilled corn on the cob as is. No sides needed! However, there are many delicious dishes to pair with your grilled corn on the cob. Tasty ideas that come to mind include a hearty Jalapeño Popper Burger With Ranch or these succulent Baked BBQ Chicken Wings. Add a classic Macaroni Salad, and you’ve got the perfect summer meal!
Recipe
Ingredients
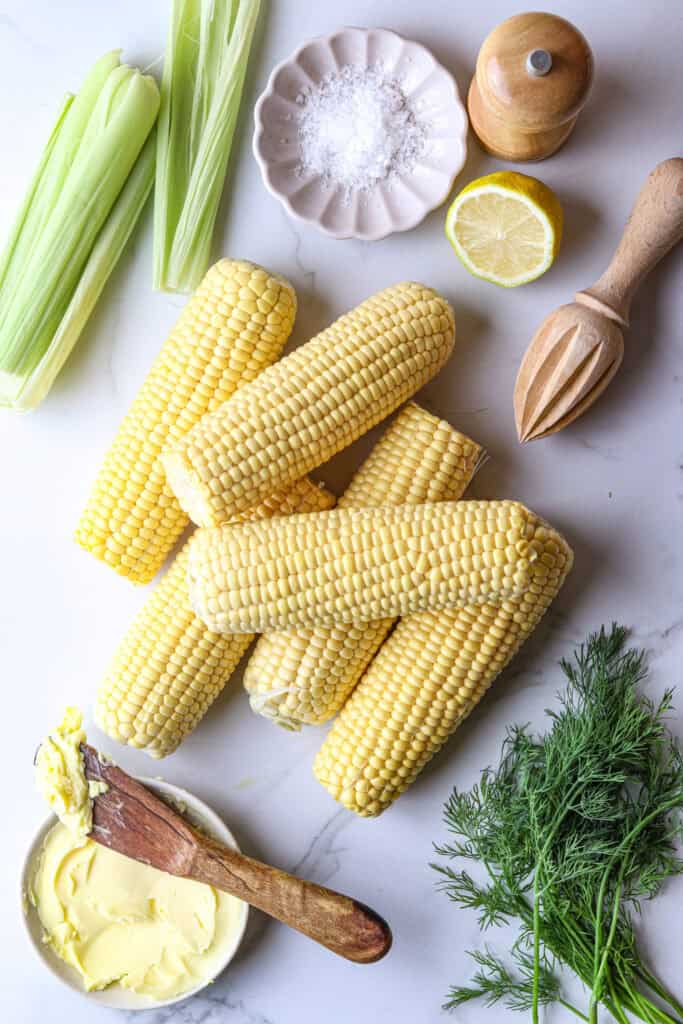
- 4 tablespoons unsalted butter softened
- 1/4 teaspoon salt
- Pinch of black pepper
- 1 tablespoon fresh dill finely chopped
- 1 tablespoon fresh lemon juice
- 6 ears of corn husks removed
Instructions
- Preheat your grill to a medium-high heat, around 400°F.
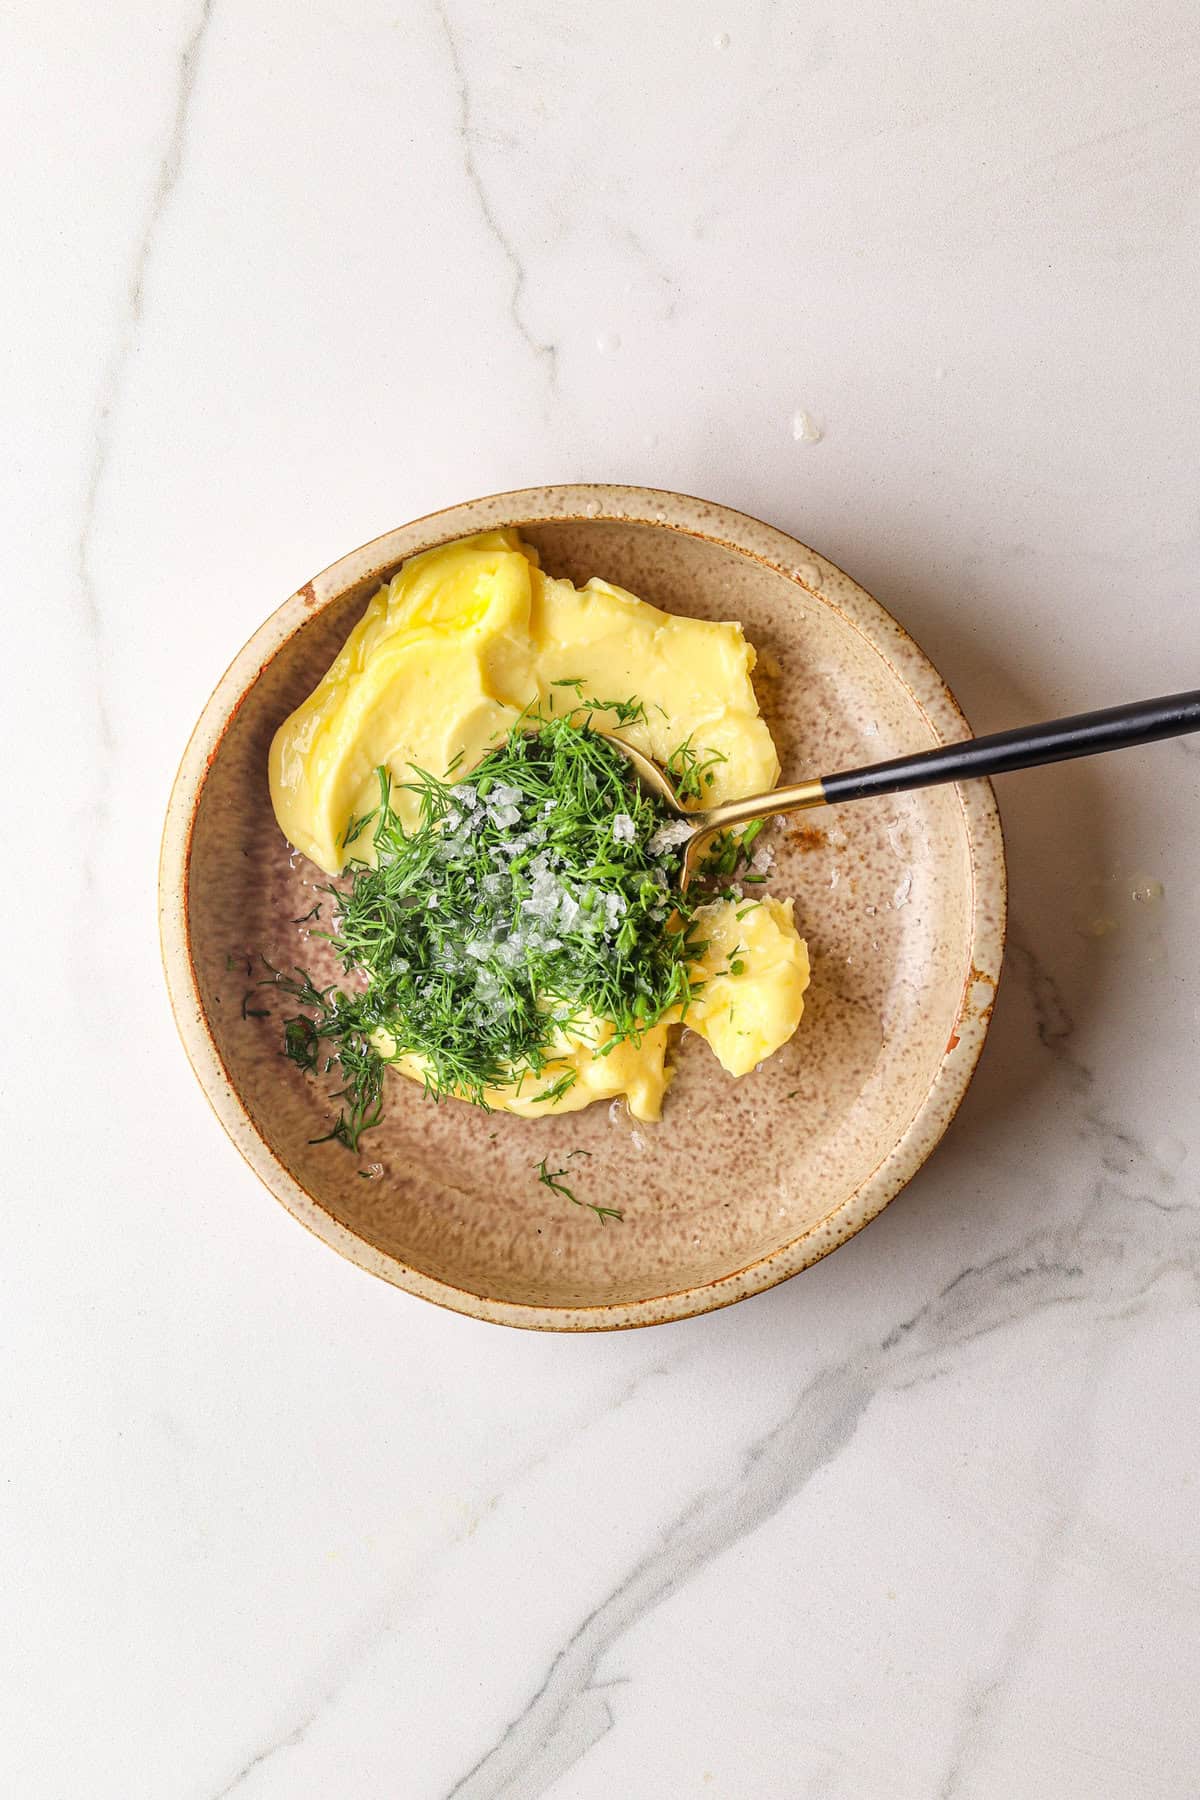
- In a small bowl, mix together the softened butter, salt, pepper, chopped dill, and lemon juice until well combined.
- Spread the seasoned butter evenly over each ear of corn.
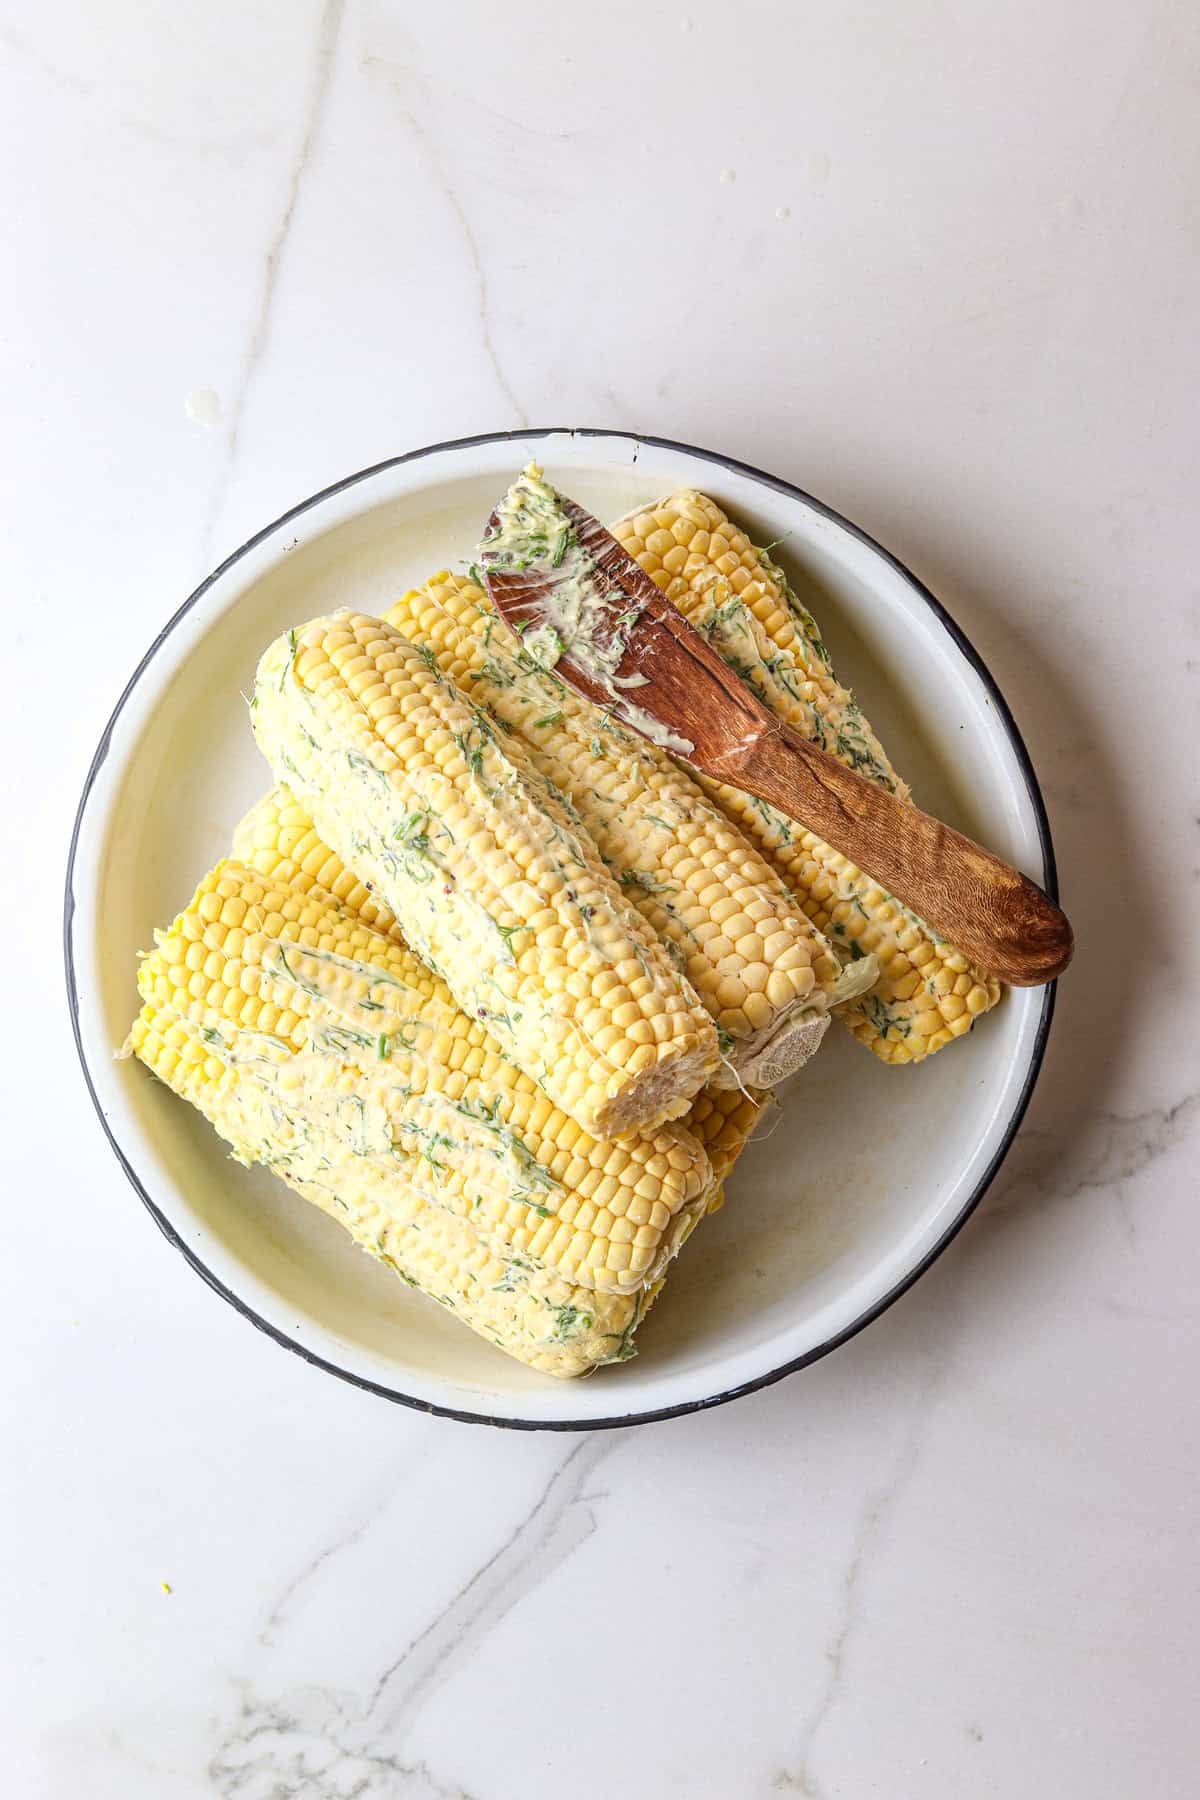
- Wrap each ear of corn individually in aluminum foil, making sure the ends are sealed tightly.
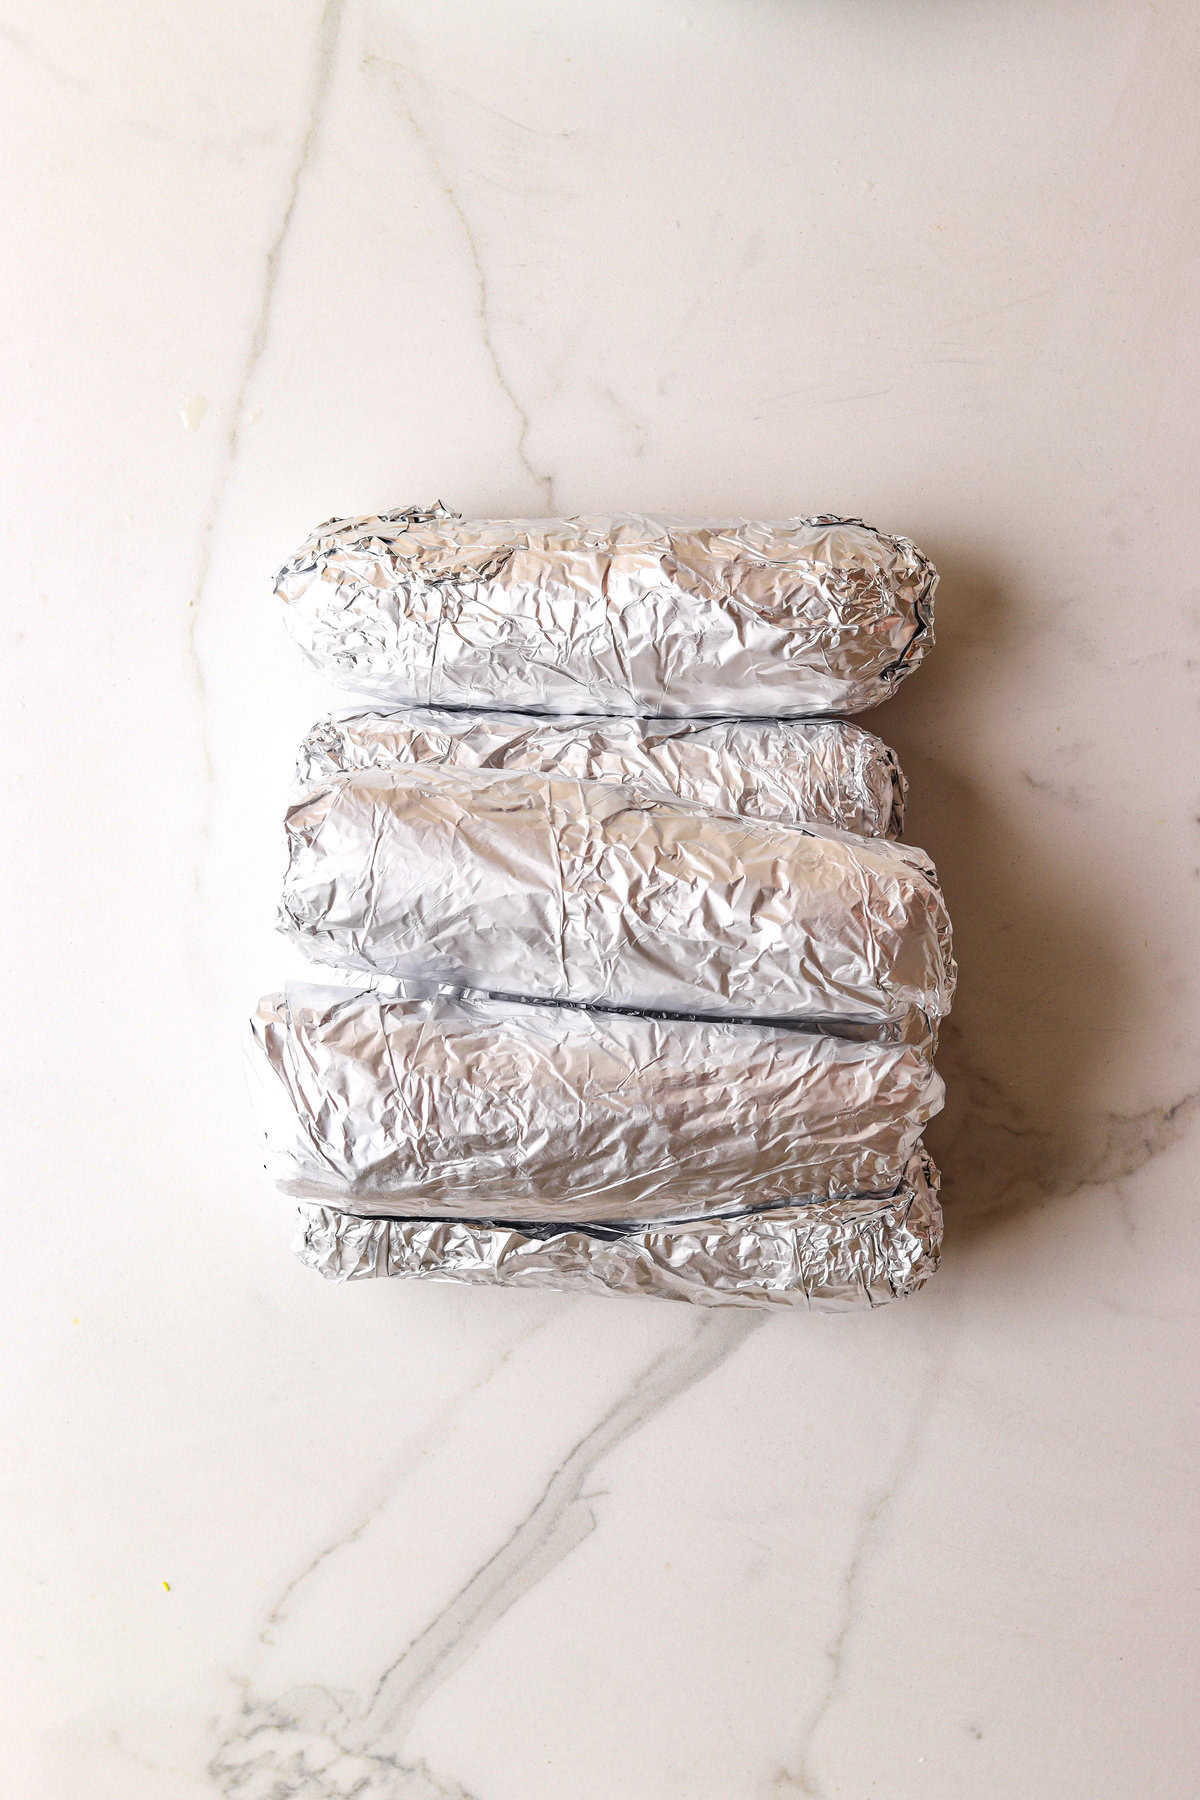
- Place the foil-wrapped corn on the grill and cook for 18 minutes, turning occasionally to ensure even cooking.
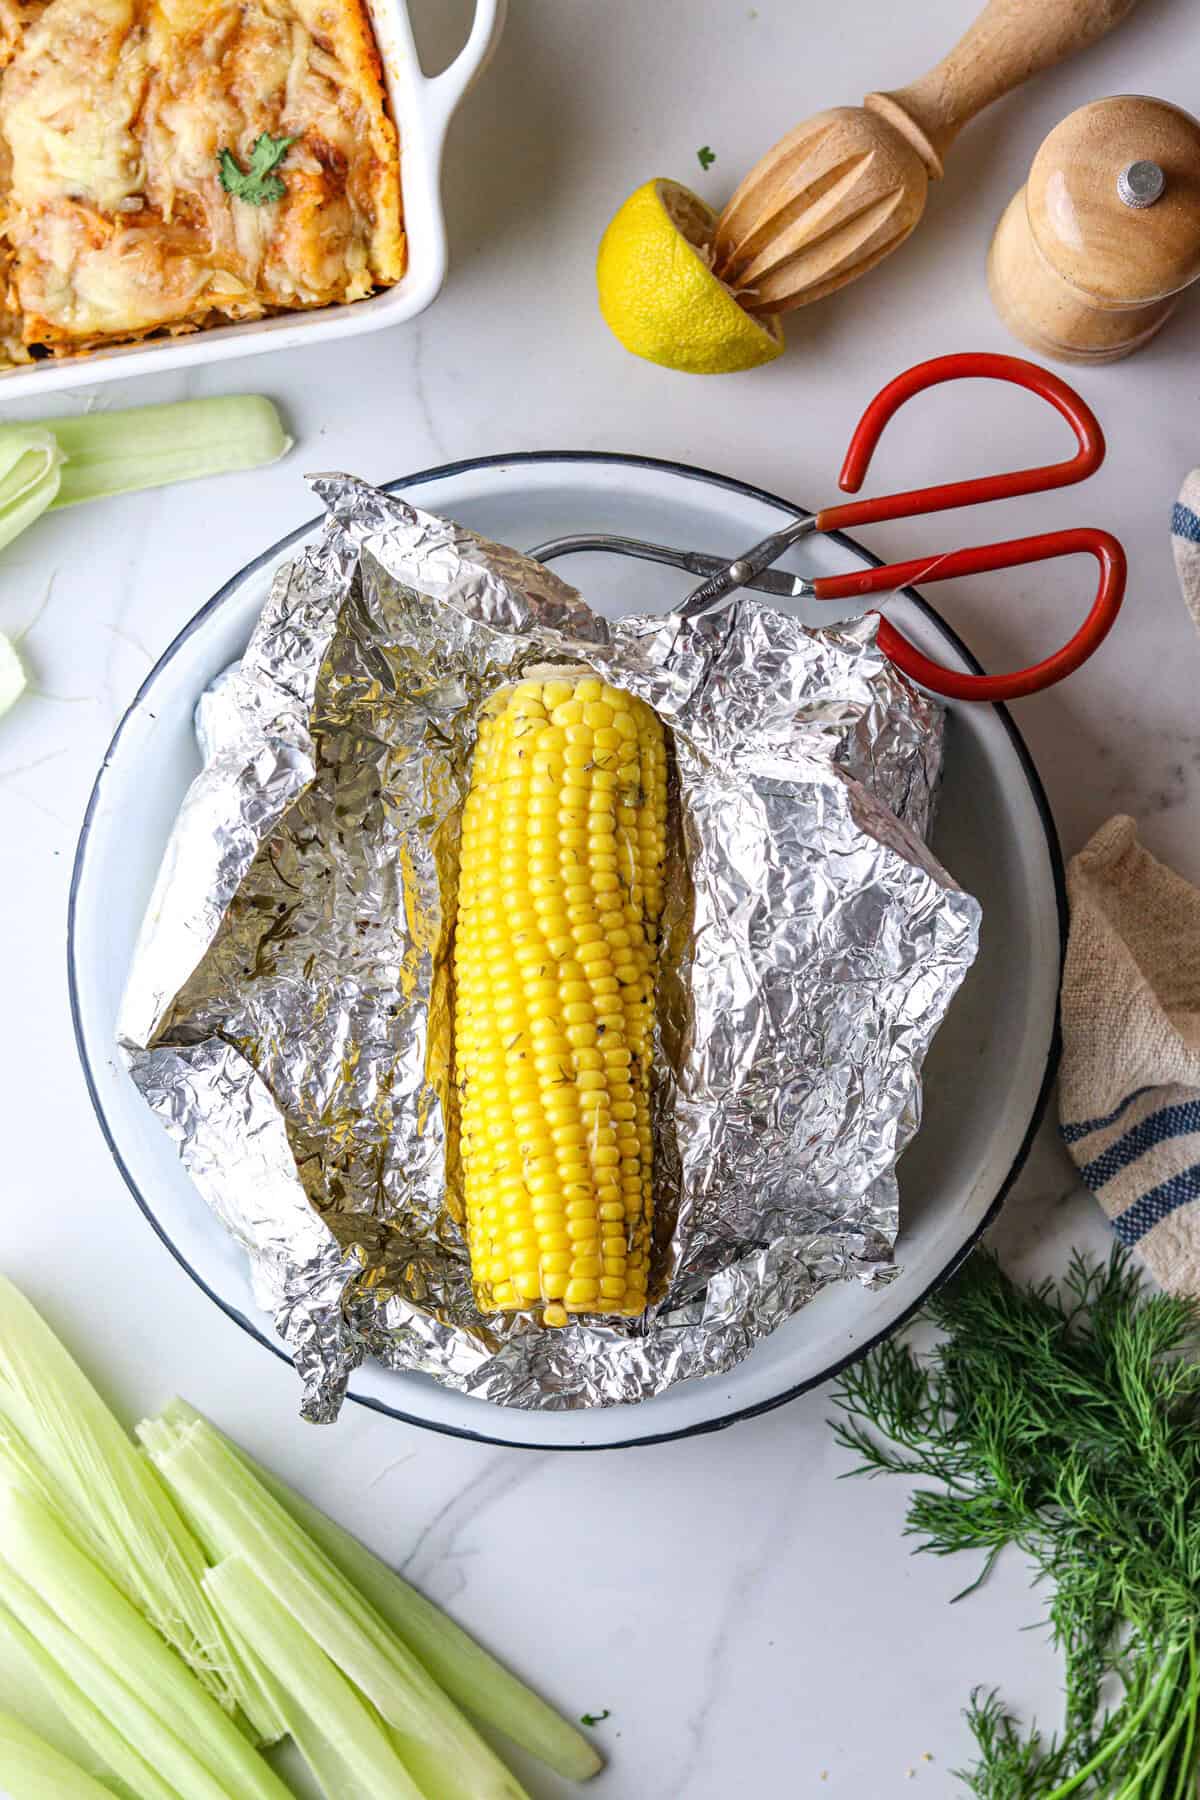
- Carefully remove the corn from the grill and let it sit for a couple of minutes before unwrapping the foil and serving.
Nutrition Info:
Recipes written and produced on Food Faith Fitness are for informational purposes only.
Leave a Comment