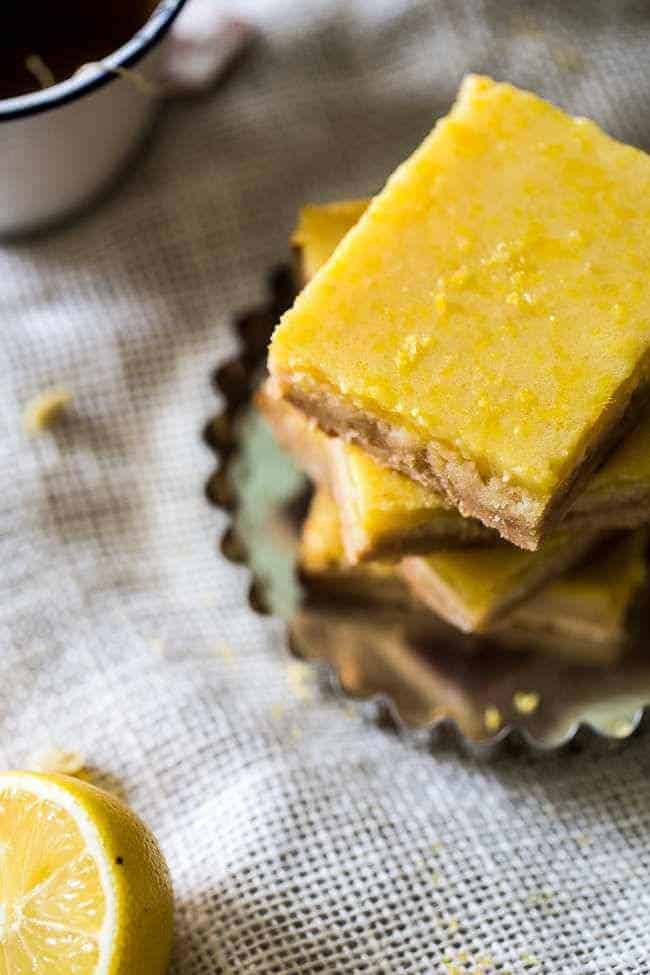
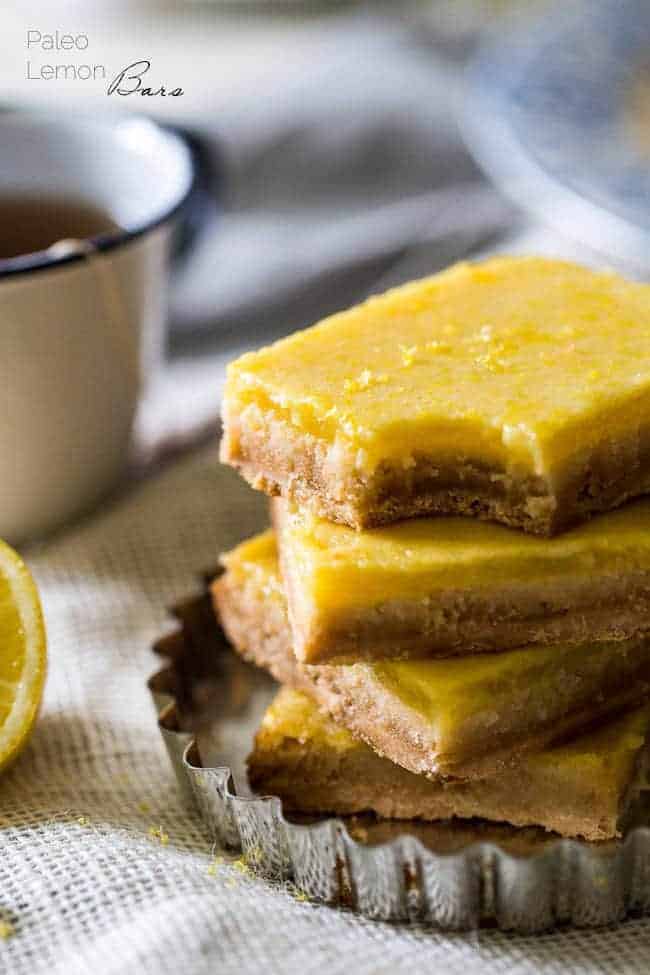
The classic lemon bars get a Paleo-friendly makeover!
It’s Friday, and I have something special for you. Not special in the “reinventing the wheel” kind of way—lemon bars aren’t exactly groundbreaking—but special to me because it took nine painstaking tries to get them just right. That’s nine rounds of zesting, mixing, baking, and questioning every life choice that led me to this moment. Some might call it excessive. I call it determined. With a side of stubborn. And a dash of still-finding-lemon-zest-in-my-hair.
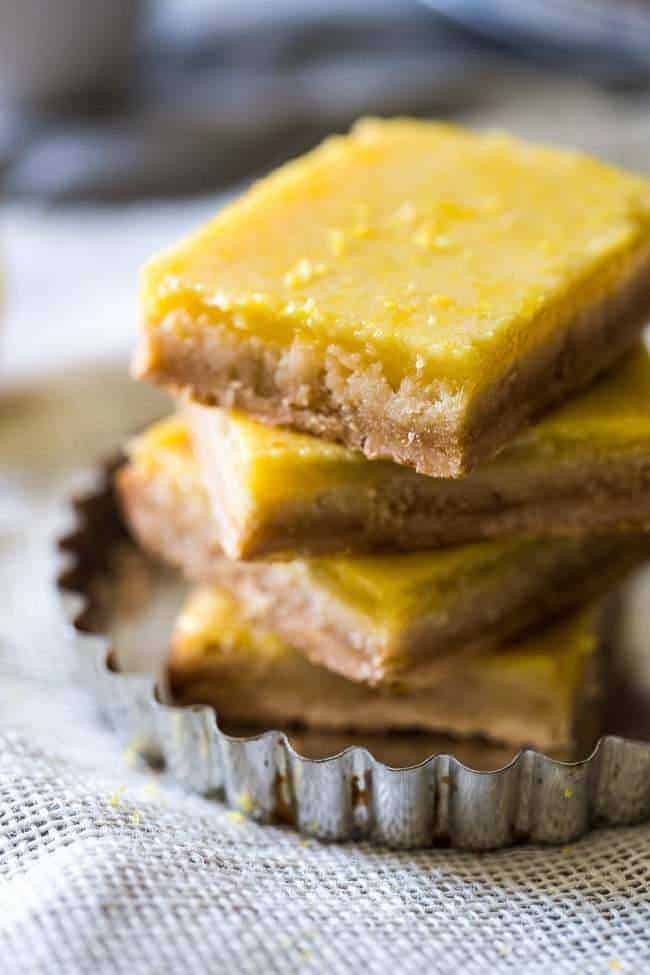
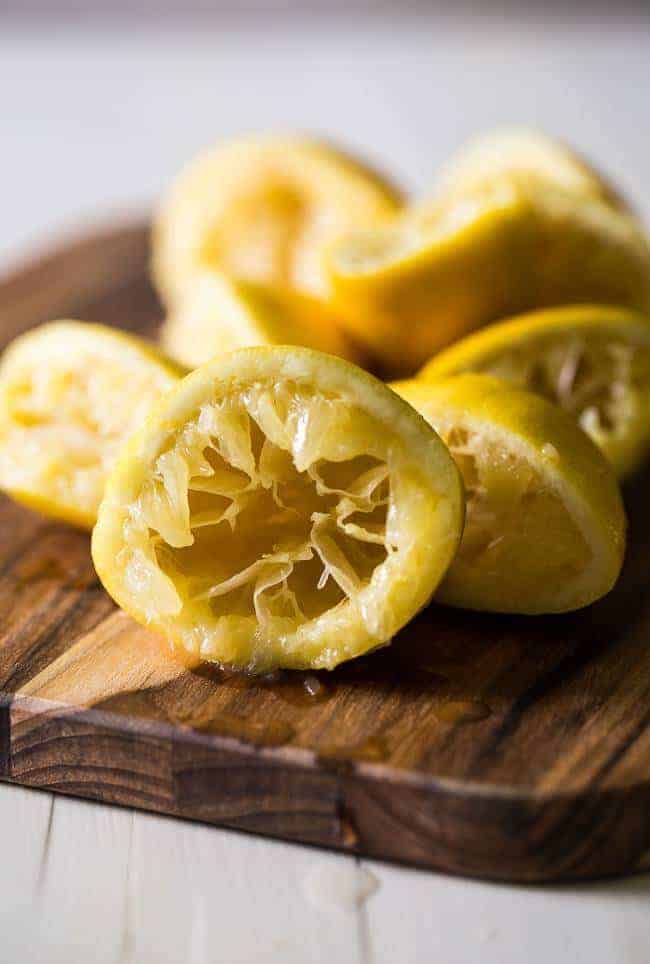
The lemon filling was easy. After all, honey, eggs, and lemon juice don’t need much help to be amazing. But the crust? That was my actual nemesis. It would start out perfect, but then something would happen when I poured on the topping, and suddenly, perfection turned into a mushy mess. I refused to let this one beat me, though, because a reader was counting on me to succeed. She had submitted her favorite lemon bar recipe for a healthy makeover, and I take my responsibilities very seriously. A few hours later, I had an apartment that smelled like a lemon grove exploded, a minor anxiety attack over the final reveal, and a moment of pure joy when my knife actually crunched through the crust. Victory! These bars are fresh, bright, perfectly sweet, loaded with lemon flavor, and 100% worth the chaos.
Are These Paleo Lemon Bars Healthy?
Think of these as a healthier alternative to your classic lemon bar. It’s still a dessert, of course—and it should still be eaten in moderation. But this recipe uses wholesome, all-natural ingredients that work for both Paleo and gluten-free diets.
The notable ingredients in this recipe are the coconut flour and the honey. Coconut flour is free of wheat and grains, and it contains fiber, protein, potassium, and iron. Raw honey is used as the sweetener here, and it’s important that you use raw honey to keep the recipe Paleo. While honey is still a form of sugar, it’s all-natural and has a lower glycemic index than refined white sugar.
Cool Your Jets
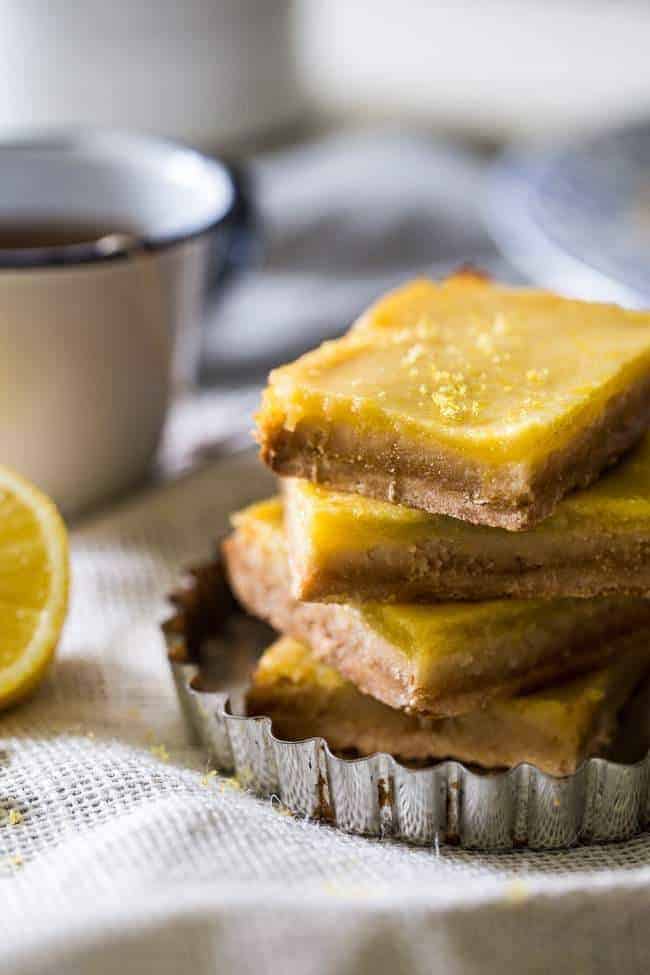
If you take a look at several lemon bar recipes—including this one—you’ll notice that most call for a chill time of at least several hours, but ideally overnight. That’s not a step you can skip. Lemon bars really do need time to properly chill and set. Cutting into them too soon will leave you with a sad, sloppy mess instead of neat, clean squares. No one wants that after all their hard work!
So, take it from me: Step away from the pan. Don’t plan on this being the dessert to turn to for instant gratification. Good things come to those who wait.
How Do I Store Leftovers?
Store your lemon bars in an airtight container and keep them in the fridge for up to 1 week. They will taste even better the next day when all the flavors meld. You can also freeze them wrapped individually in parchment paper, then store them in a sealed container. They’ll keep in the freezer for up to 4 months.
Serving Suggestions
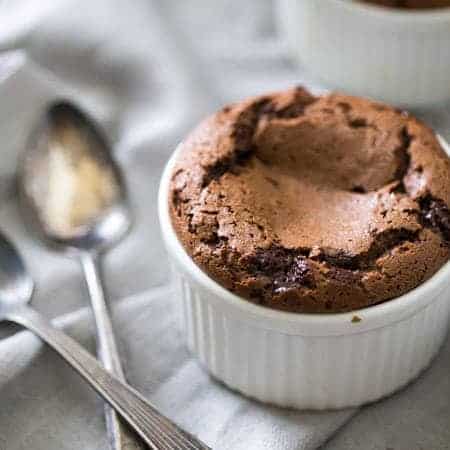
I’m a true lover of all things lemon. If you’re anything like me, you’ll want even more lemony recipes to add to your regular rotation. Some of my favorites include Lemon Pound Cake, Candied Lemon Slices (they make a beautiful garnish!), Tropical Paleo Lemon Bars, and a tall glass of homemade Lemonade.
Recipe
Ingredients
For The Crust:
- 1/2 cup coconut oil room temperature, plus more for greasing the pan
- 1/4 cup raw honey
- 1 pinch salt
- 1 cup coconut flour sifted, 95 grams
For The Lemon Topping:
- 3 large eggs
- 1/2 cup raw honey
- 2 teaspoons lemon zest
- 2 teaspoons coconut flour sifted
- 1/2 cup fresh lemon juice
Instructions
- Preheat your oven to 350 degrees Fahrenheit and generously grease an 8×8-inch pan with some coconut oil. Set aside.
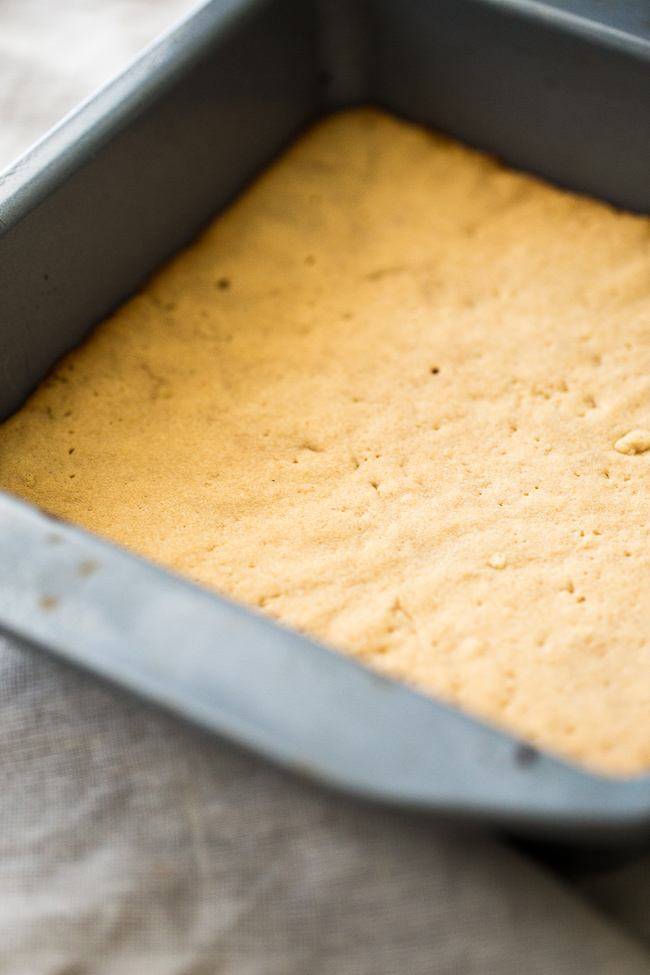
- In a large bowl, using an electric hand mixer, beat together the coconut oil, honey, and pinch of salt until creamy and well combined. Stir in the coconut flour until a dough forms.
- Press the dough evenly into the prepared pan and bake until just lightly golden brown, about 8 minutes. Once cooked, let cool for 30 minutes.
- Lower the temperature of your oven to 325 degrees Fahrenheit, and lower the oven rack to the second from the bottom position.
- Once the crust has cooled, gently whisk together the eggs, honey, and lemon zest in a large bowl. Do not use an electric mixer here, or you will overbeat the eggs and the topping with crack. Use a hand whisk.
- In a separate, medium bowl, whisk the coconut flour into the lemon juice, 1 teaspoon at a time, until well mixed. Make sure you continually whisk as you add the flour so that it doesn't clump up.
- Pour the lemon juice mixture into the egg mixture, whisking while you pour, until evenly combined.
- Pour the topping over top of the cooled crust and bake until it is just set and the very center is just slightly jiggly, about 21-23 minutes. Let cool completely at room temperature. Then, cover and refrigerate for at least 6 hours, ideally overnight. You need to let the crust completely cool, or it will be soft.
- Using a very sharp knife (or else you might not cut through the crust), cut the bars into squares and enjoy.

My husband loved these and I took them to a party and they were devoured. Really happy to have this recipe….thank you!
GREAT! I am so happy you both liked them Catherine.
I so appreciate this recipe and all the hard work you put into it. Great ingredients and flavor! I prefer distinct crust and curd layers so I’m adding some notes here for myself to remember next time around. There weren’t layers in this when I made it–the bar slowly transitioned from crust to curd with only a thin layer of distinct curd on top. Next time I will reduce the amount of crust by 2/3 or even 1/2. I will cook the lemony mixture in a pot over med-low while whisking until the curd forms, and THEN I will pour it over the crust and bake 15 minutes.
Hi Holly, thanks for your comment and hope you can reach 5 ⭐ at your next review 🙂
I made these for Easter. I didn’t mix the egg mixture enough that when I baked it, the egg whites were visible on the top of the lemon bars. I salvaged it by sprinkling it with raw coconut flour. It gave it the classic “lemon bar” look! Other than that slight appearance issue, they were INCREDIBLE !!! My mom said, “this is the best dessert I’ve ever ate”, as she went in for thirds. I saved myself a piece to have later today and I’m so excited. Thank you for perfecting this!
So glad to hear you still enjoyed this recipe. We do hope you’ll try it again! Thanks for reading