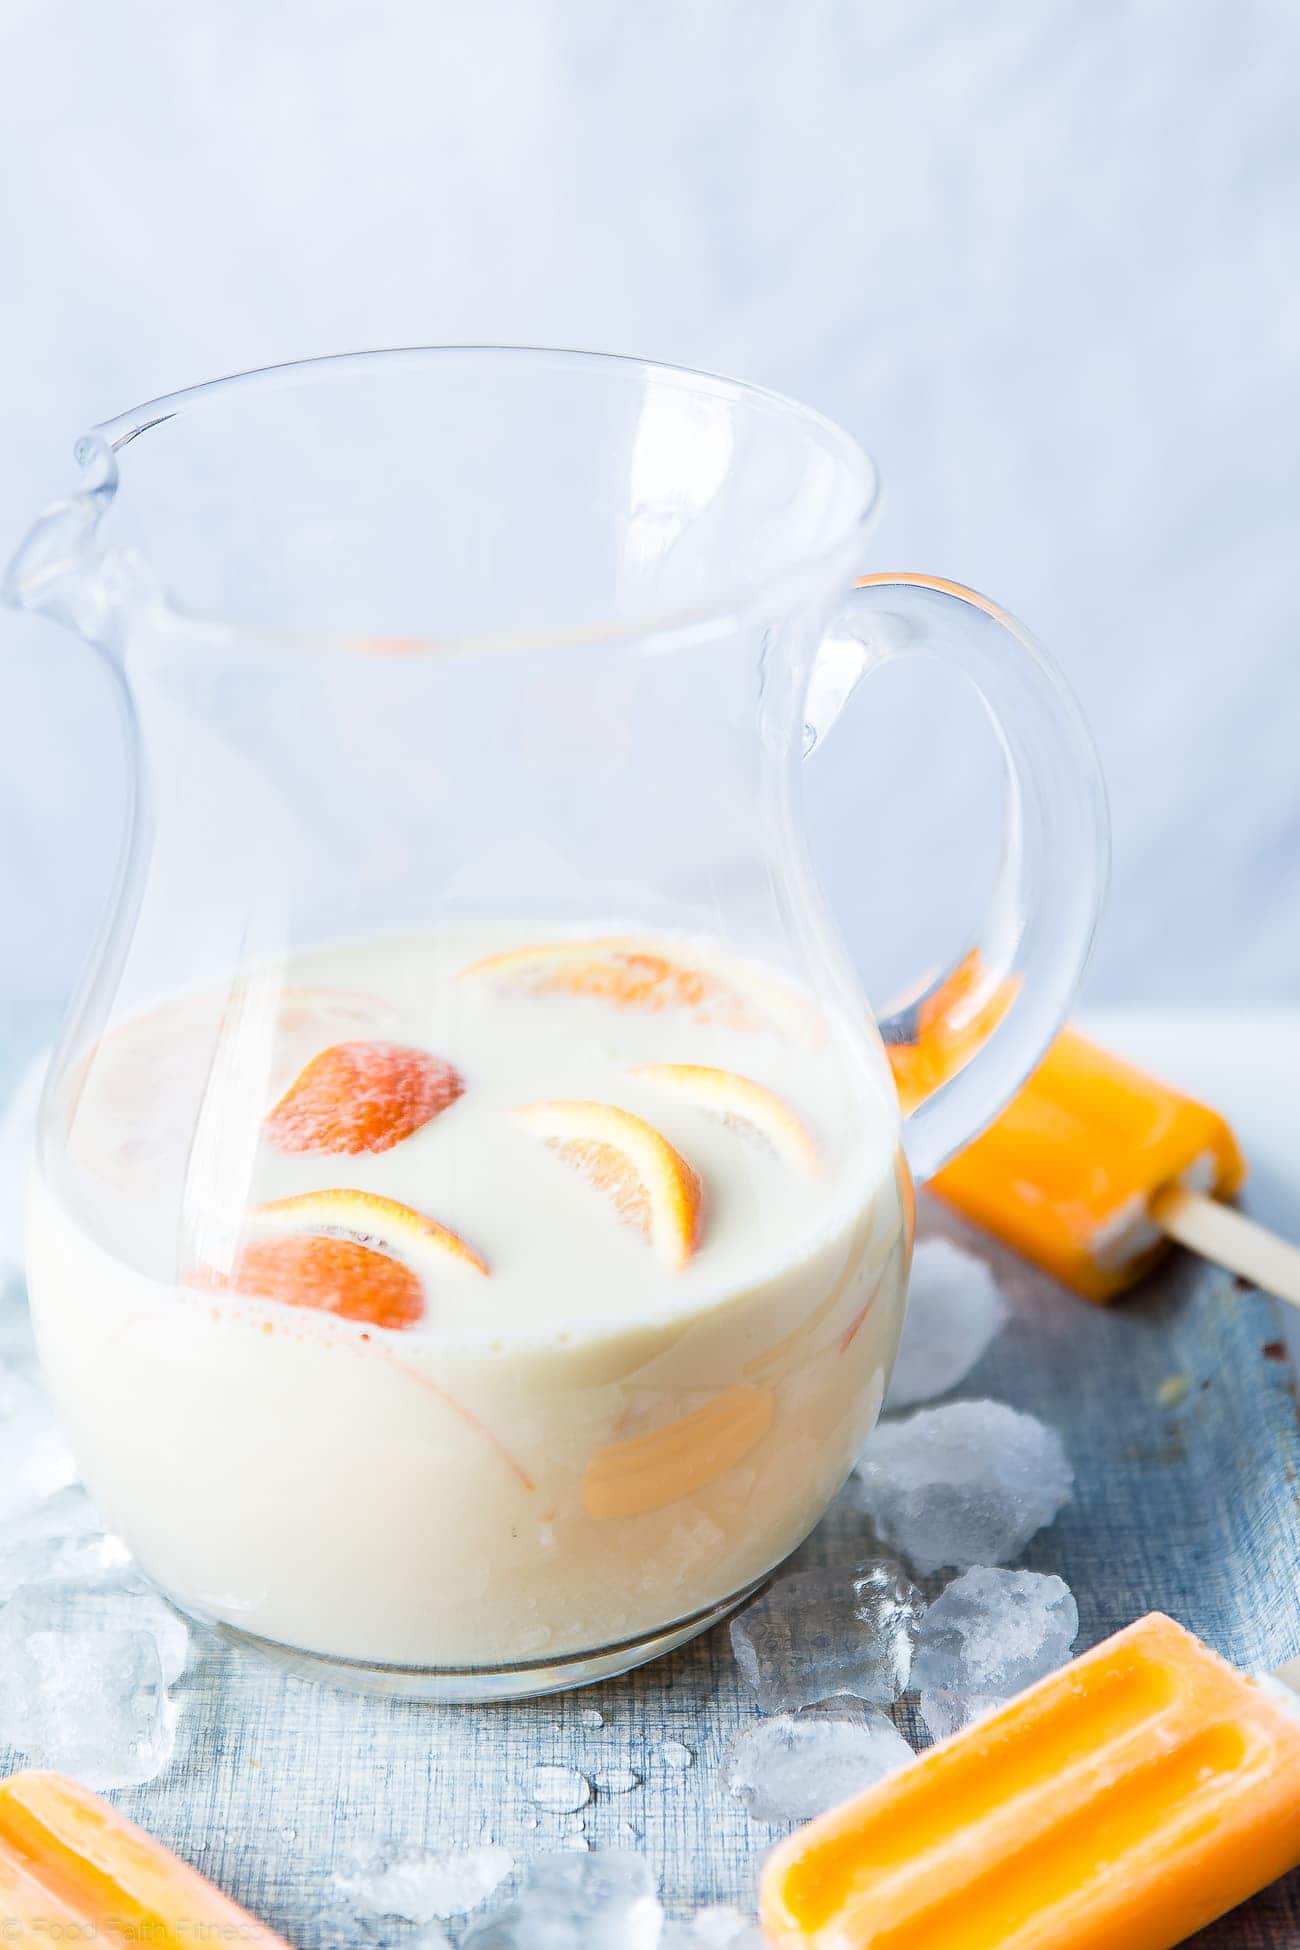
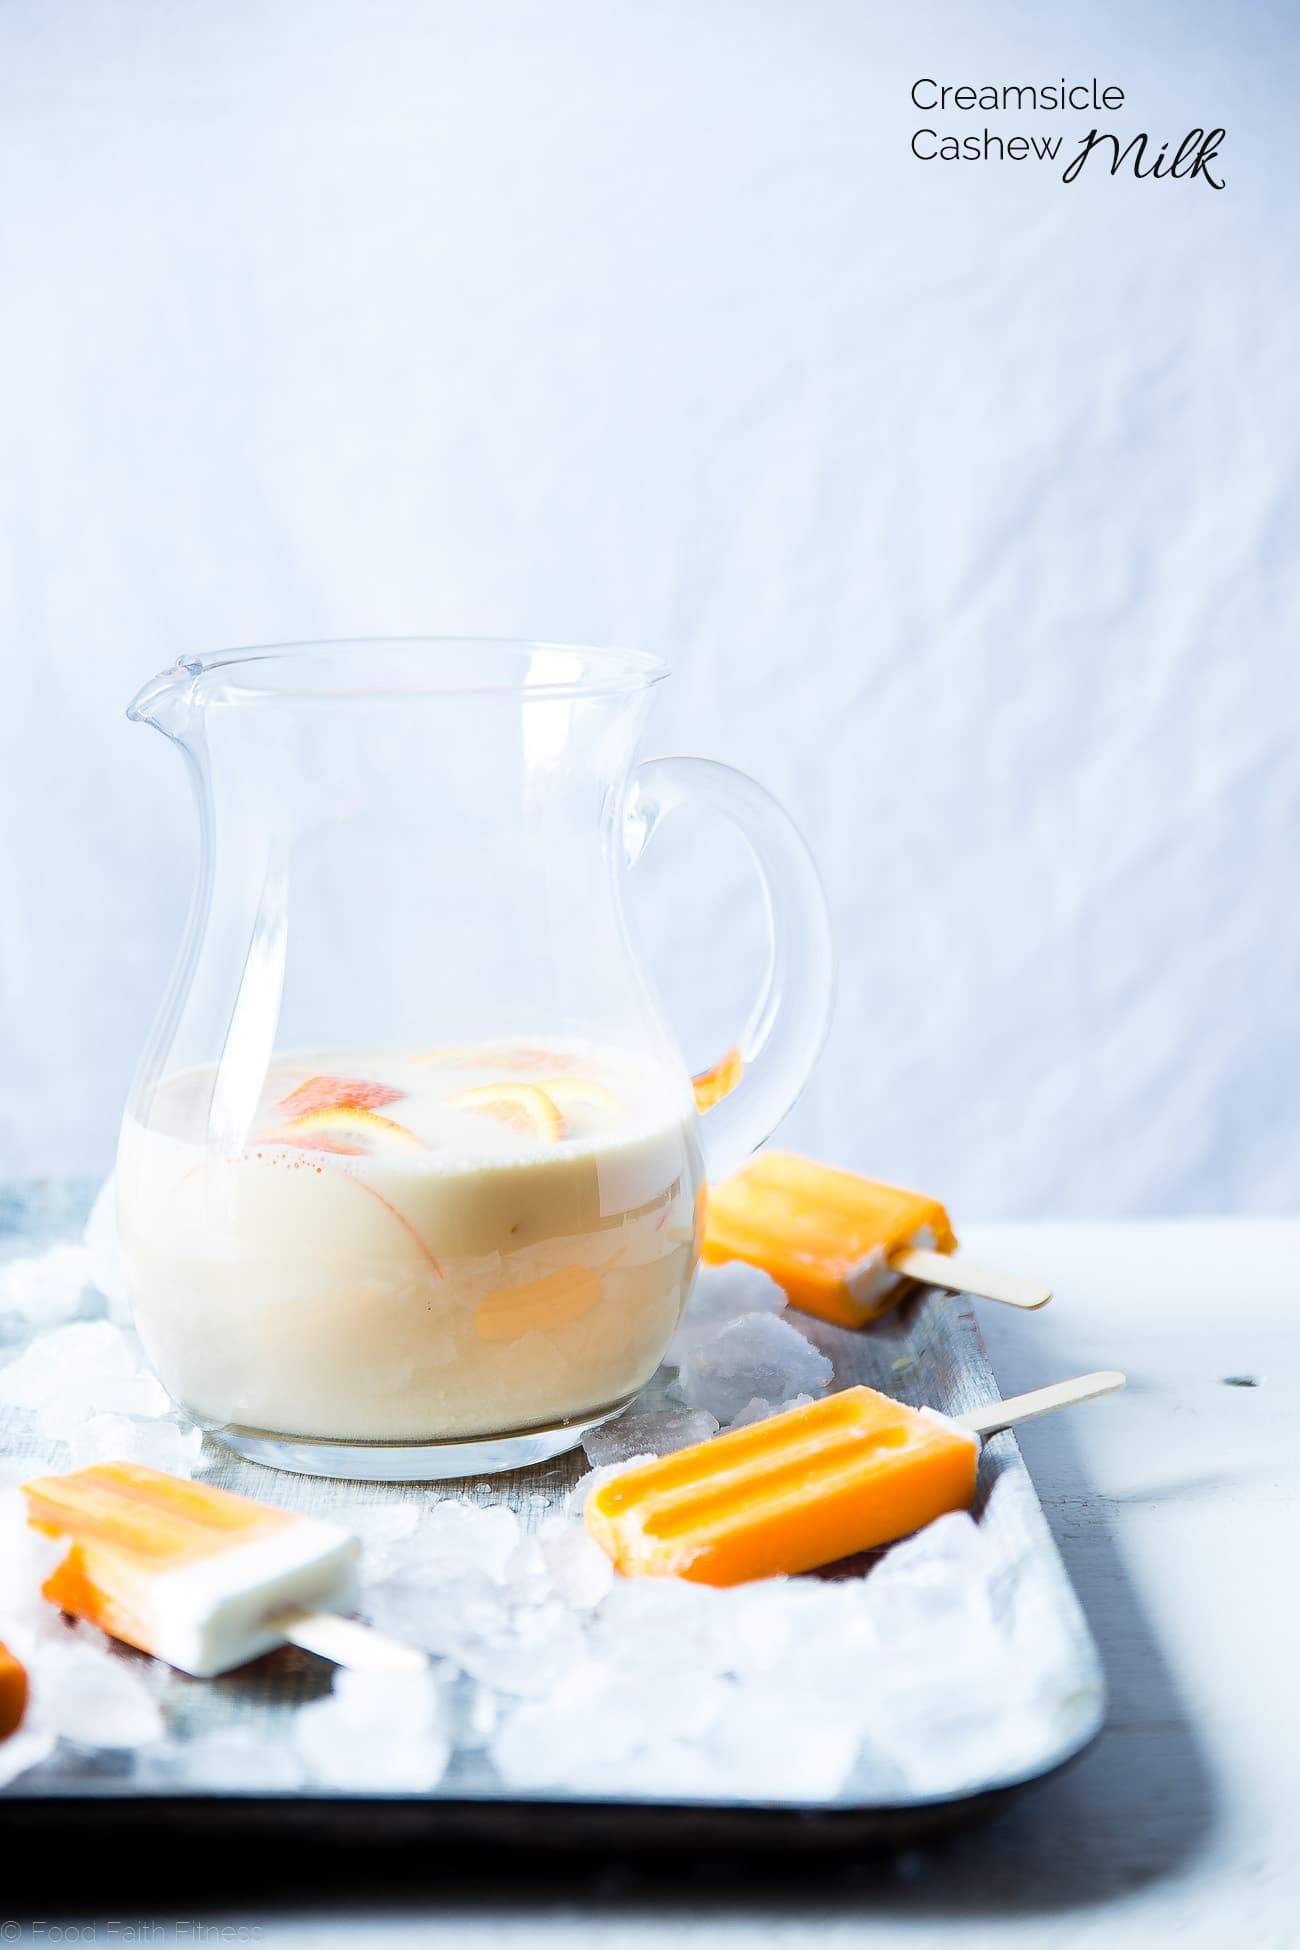
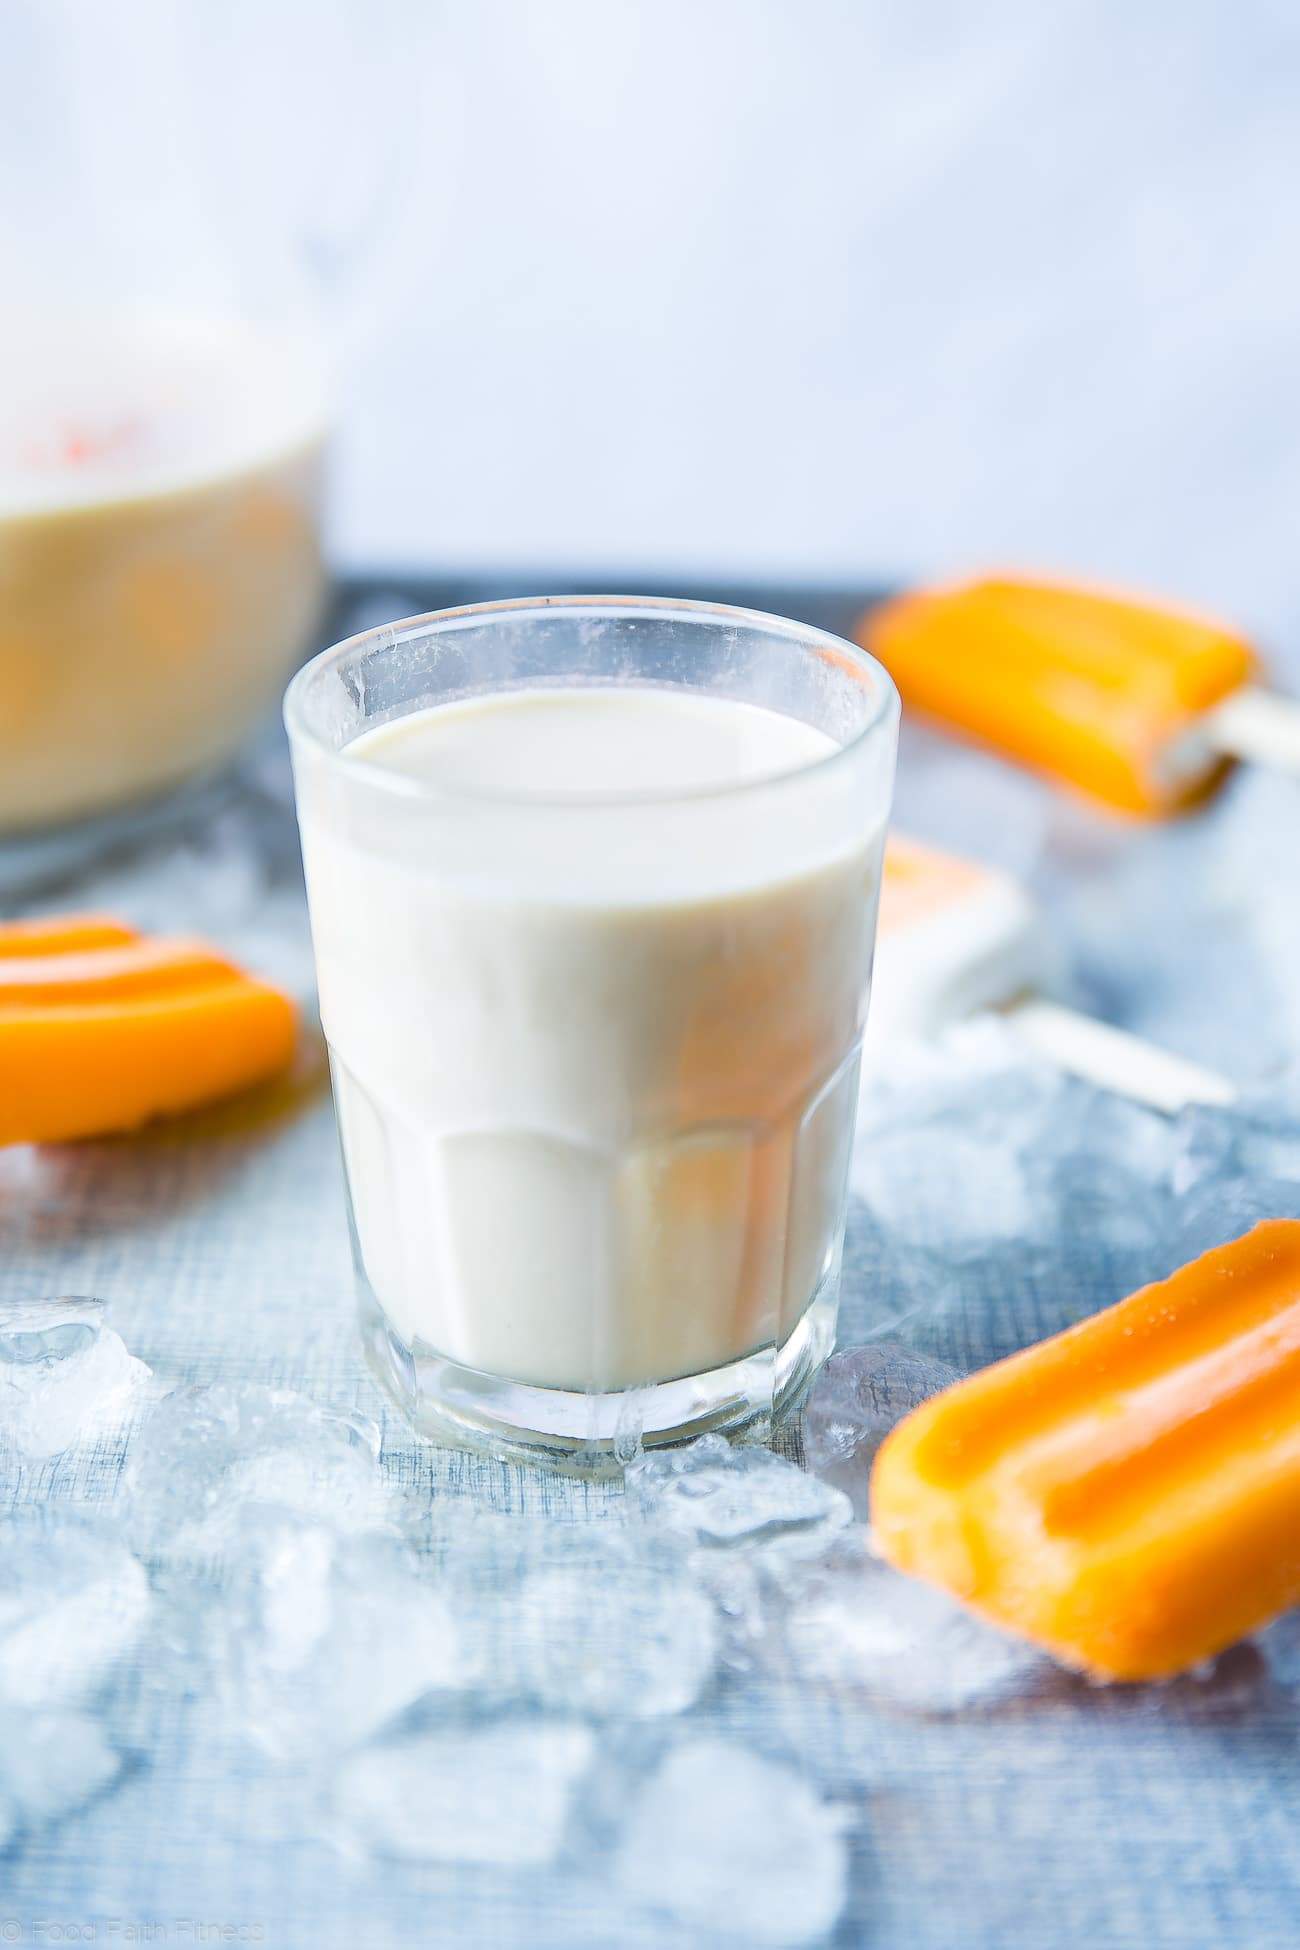
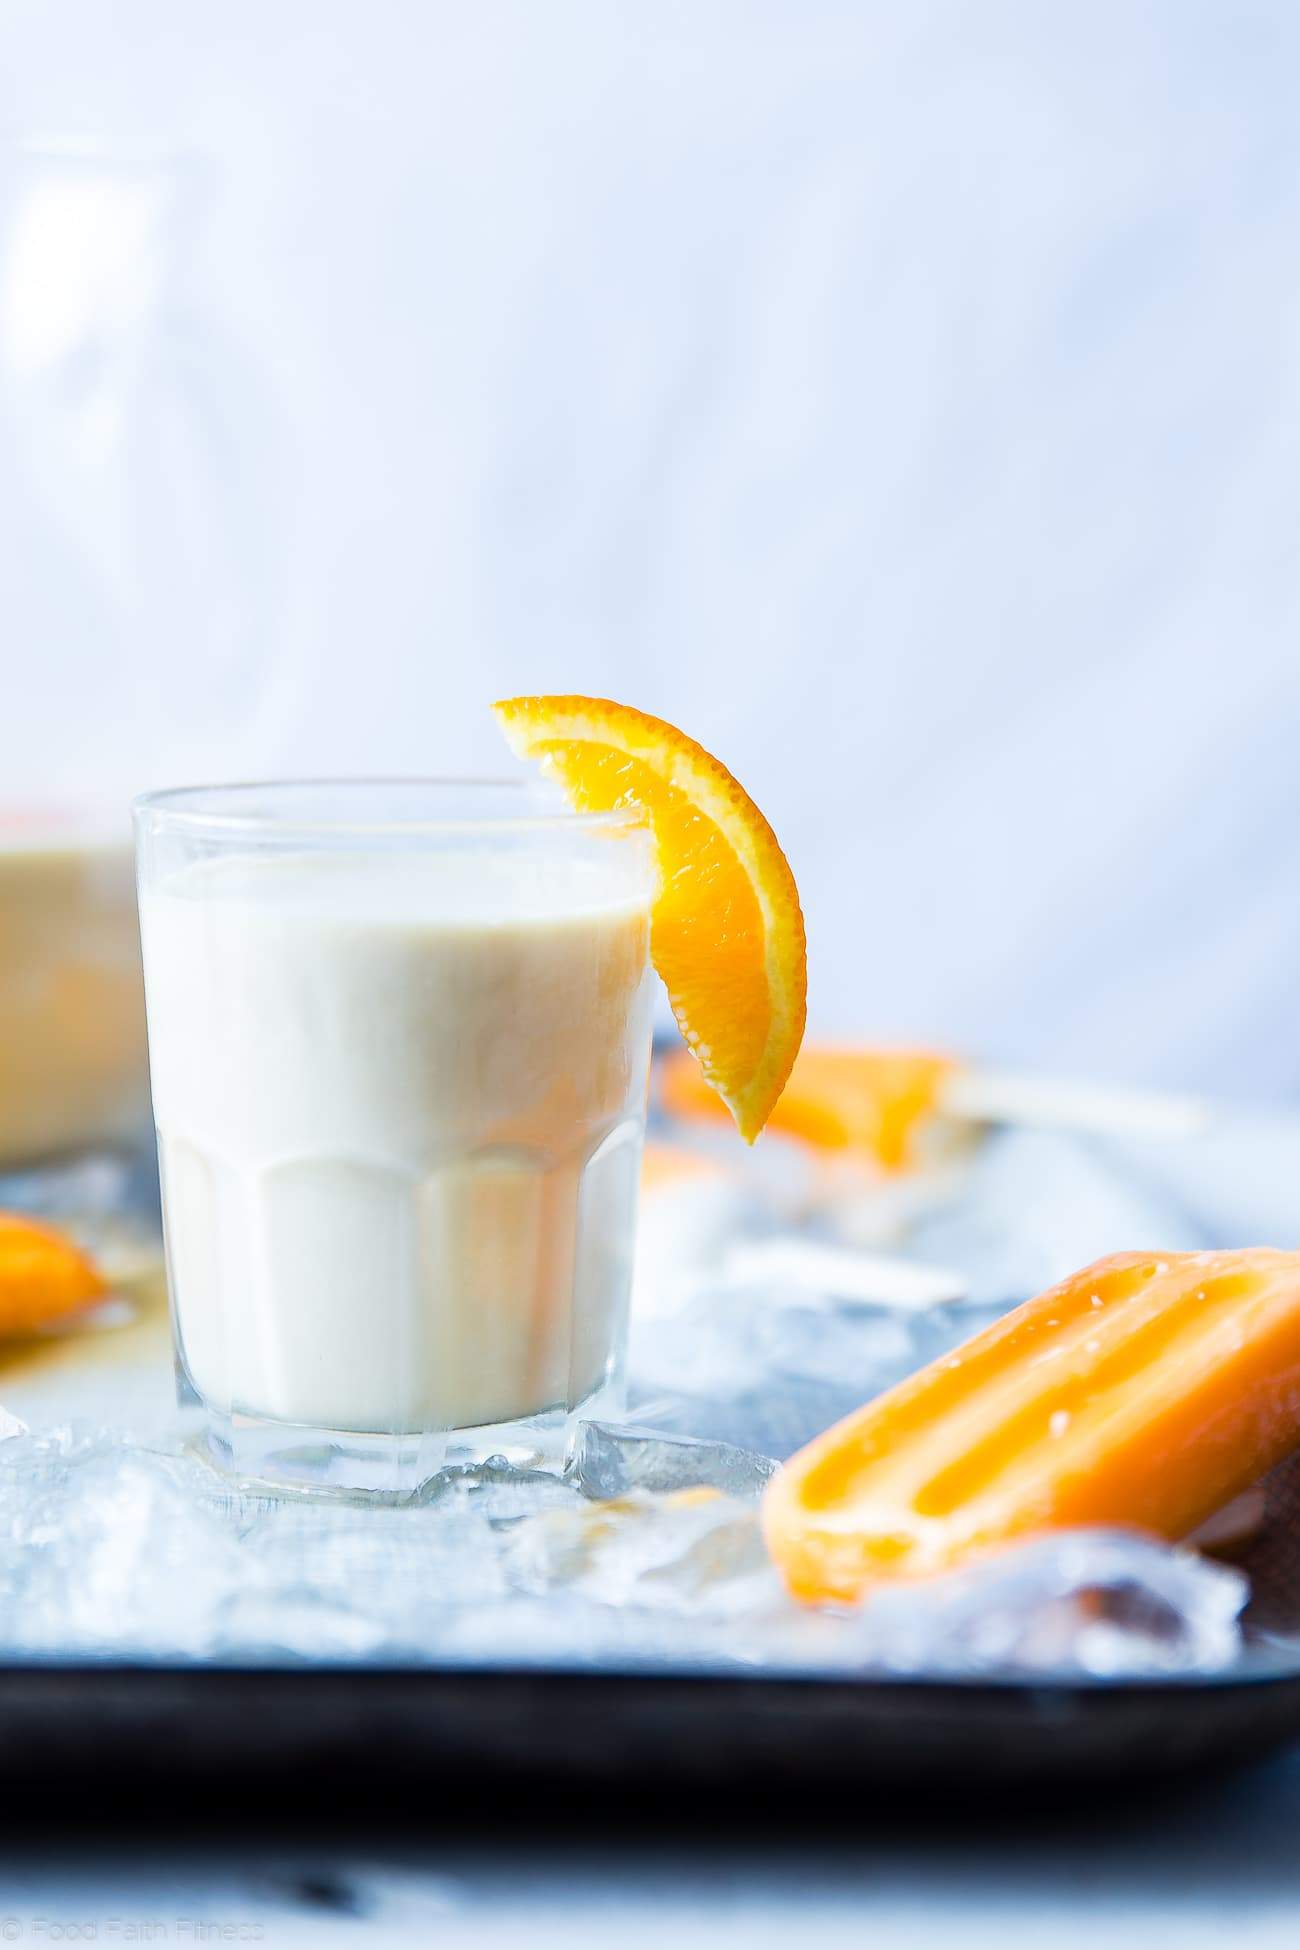
This easy DIY cashew milk tastes just like a Creamsicle! It’s Paleo, vegan, and Whole30 compliant and so much better than store-bought.
If you’ve found yourself lost in the plant-based milk aisle lately, you’re not alone.
Dozens of options—many with flavorings, sugars, emulsifiers, and other additives—have made it a chore to identify exactly what you want and don’t want. One solution? Make your own! It takes just three easy steps: Plan ahead to soak your favorite nut in water for a few hours, then blend and strain. You’ll have fresh, creamy nut milk with just about 10 minutes of actual work. It’s a totally delicious project, and all you’ll need is a good blender (a high-powered one is preferred) and a nut milk bag or some cheesecloth.
Why Creamsicle for this cashew milk? It just might be the ultimate orange-vanilla combination and maybe the most refreshing flavor combination ever! The original Creamsicle, an orange ice pop with a vanilla ice cream center, dates back over a century and has been a nostalgic summer treat for generations. We figured we could give it a healthy DIY makeover and keep it totally plant-based, plus free of additives, artificial colors, and flavors. And while we don’t want to say this nut-milk drink could exactly replace that iconic ice pop, let’s just say we think it’s a creamy, dreamy vegan update. Here’s everything you need to know.

Is Creamsicle Cashew Milk Healthy?
This recipe for orange-flavored cashew milk is a pretty healthy treat. It’s made with just a few simple ingredients and contains no gluten, dairy, or other animal products and is lightly sweetened with dates, not refined sugar. It’s vegan and compatible with Paleo and Whole30 diets. It contains some important nutrients like potassium, vitamins A and C, and a small amount of protein. That said, it’s fairly high in fat, although almost all of that is the heart-healthy unsaturated kind. So savor it in moderation and feel good about giving its ultra-processed namesake, the Creamsicle ice pop, a pass!
How To Make Just About Any Nut Into Milk
The basic ingredients for homemade nut milks are just nuts and water, and the technique for making them all is basically the same: soak, blend, and strain. One of the benefits of mastering the technique is branching out to try it with any number of nuts and even some seeds like green pumpkin seeds. So if you’d like to try others, like almonds or hazelnuts, for this recipe, you definitely can. But remember that some nuts (like almonds) are denser than cashews, so will require longer soaking and may need more blending time to extract the maximum amount of nuttiness. Some nuts that make really interesting-tasting milks include pecans, walnuts, and pistachios, but these might go a little oddly with the flavor profile of this recipe; stick to cashews, almonds, or hazelnuts for this one!
How Do I Store Leftovers?
You can refrigerate leftovers for up to 4 days in an airtight container. And although you can freeze the mixture, it may become grainy when thawed, so it’s not recommended.
Serving Suggestions
Want to try out more great plant-based milk recipes? FFF has you covered! Check out How To Make Almond Milk, or go beyond nuts and see How To Make Oat Milk. You can also try some fun blender drinks featuring plant milks like Chocolate-Peanut Butter-Banana Smoothie, Berry-Packed Frozen Fruit Smoothie, or this chocolaty Vegan Milkshake.
Recipe
Ingredients
- 1 cup roasted cashews soaked in water for 2 hours
- 2 cups filtered water
- 2 cups 100% orange juice
- 1 1/2 teaspoons vanilla extract
- Pinch of salt
- 4 dates, pitted
Instructions
- Drain the water from the cashews and place them in a high-powered blender. Add in all of the remaining ingredients and blend on the highest setting until smooth, about 2 minutes.
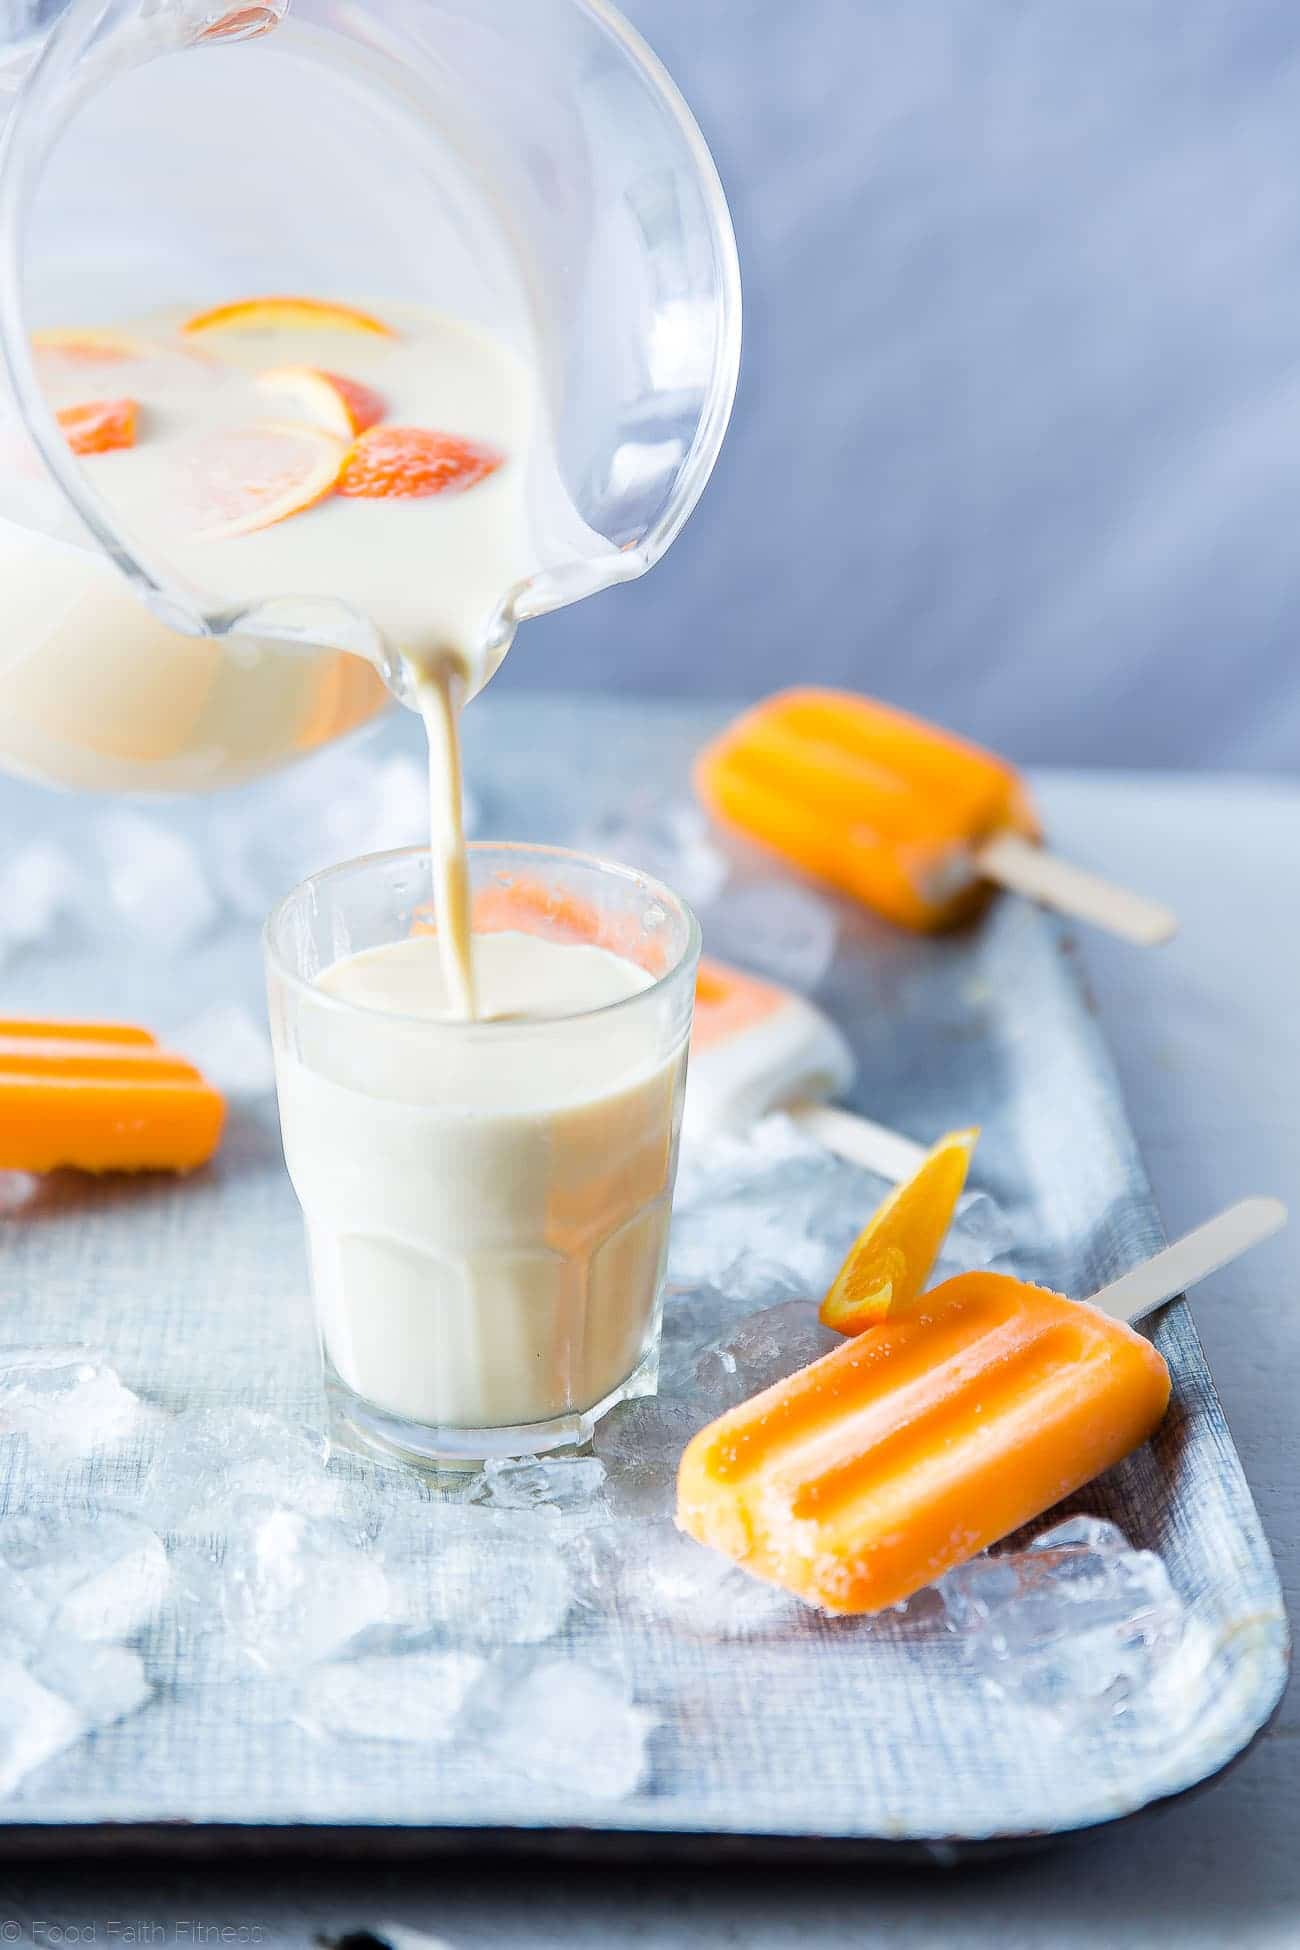
- Strain the milk through a nut milk bag, gently squeezing and wringing to extract as much liquid as possible.
- Pour into a jar, cover and refrigerate for at least 2 hours, or until totally chilled, and SLURP!
Nutrition

The milk sounds wonderful, but it’s your pictures that has me in awe. I’ll be the first in line to sign up if you ever want to give a quick tutorial here in Minneapolis.
Thanks you much, will surely let you know 😉